Communicating with Data
Presented by Emi Tanaka
School of Mathematics and Statistics
dr.emi.tanaka@gmail.com
@statsgen
4th October 2019 | COMBINE | Sydney, Australia
These slides are viewed best by Chrome and occasionally need to be refreshed if elements did not load properly. See here for PDF .
In a nutshell 🥜
R Markdown integrates text + code in one source document with ability to knit to many output formats (via Pandoc).
Text in Markdown
# Header 1## Header 2- Unordered list 1 - Unordered list 21. Ordered list 11. Ordered list 2_This is italic._ *This too.*__This is bold.__ **This too.**_**This is bold & italic.**_Output
Header 1
Header 2
- Unordered list 1
- Unordered list 2
- Ordered list 1
- Ordered list 2
This is italic. This too. This is bold. This too. This is bold & italic.
Shortcut for inserting code chunk
In RStudio .Rmd press
- Mac: ⌘ + ⌥ + i
- PC: Ctrl + Alt + i
to insert a chunk of R code
```{r}```Chunk options: echo & eval
```{r, echo = FALSE}plot(speed ~ dist, cars)```
```{r, eval = FALSE}plot(speed ~ dist, cars)```plot(speed ~ dist, cars)There are many more chunk options.
Can you name 5 other ones?
Hint: https://yihui.name/knitr/options/
(We'll explore some later.)
Valid chunk options
- Chunk options must be written in one line, i.e. no line break.
- All option values must be valid R expressions. Exception is the chunk name. E.g.
fig.path = figures/is not valid butfig.path = "figures/"is valideval = trueis not valid but
eval = runif(1) > 0.5is valid
Chunk names (or labels)
The chunk below is called plot1.
```{r plot1}ggplot(cars, aes(dist, speed)) + geom_point()```All chunks have a label regardless of whether it is explicitly supplied or not.
Do not include spaces, "_" or punctuation marks in your chunk name!
Inline R Commands
Today's date is `r Sys.Date()`.Today's date is 2019-10-03.
The value of $\pi$ is `r pi`.The value of π is 3.1415927.
- Note: the inline command needs to be R commands.
- Inline command does not
echoand alwaysevaluates.
Go through
challenge-02.Rmdchallenge-03.Rmdchallenge-04.Rmdchallenge-05.Rmdchallenge-06.Rmd
25:00
R Markdown is not just for R
```{python, echo = FALSE}a = [1, 2, 3]a[0]```## 1```{bash, echo = FALSE}date +%B```## OctoberYAML - YAML Ain't Markup Language
Basic format
---key: value---Example
---title: "Communicating with Data via R Markdown"subtitle: "Reproducible Reports"author: "Emi Tanaka"date: "`r Sys.Date()`"output: html_document---There must be a space after ":"!
Metadata
All YAML data are stored in rmarkdown::metadata as list.
rmarkdown::metadata$title## [1] "Communicating with Data via R markdown"rmarkdown::metadata$author## [1] "Emi Tanaka"Default (minimal) html output
<!DOCTYPE html><html xmlns="http://www.w3.org/1999/xhtml"><head><meta name="author" content="Emi Tanaka" /><meta name="date" content="2019-10-04" /><title>Communicating with Data via R Markdown</title></head><body><h1 class="title toc-ignore">Communicating with Data via R Markdown</h1><h3 class="subtitle">Reproducible Reports</h3><h4 class="author">Emi Tanaka</h4><h4 class="date">2019-10-04</h4></body></html>html meta data
Default html template add special YAML key values to file automatically

YAML structure
- White spaces indicate structure in YAML - don't use tabs though!
- Same as R, you can comment lines by starting with
#. - YAML is case sensitive.
- A
keycan hold multiple values.
key: - value 1 - value 2key: [value 1, value 2]YAML with multiple key values
---title: "Communicating with Data via R Markdown"author: - "Emi Tanaka" - "Accomplice"output: html_document---<body><h1 class="title toc-ignore">Communicating with Data via R Markdown</h1><h4 class="author">Emi Tanaka</h4><h4 class="author">Accomplice</h4> </body>
key can contain keys
---output: html_document: toc: true toc_float: true---(Note: white space is important)
Values spanning multiple lines
---title: > this is a\ single line\abstract: | this value spans\ many lines and\ appears as it is\output: pdf_document---`r rmarkdown::metadata$title``r rmarkdown::metadata$abstract`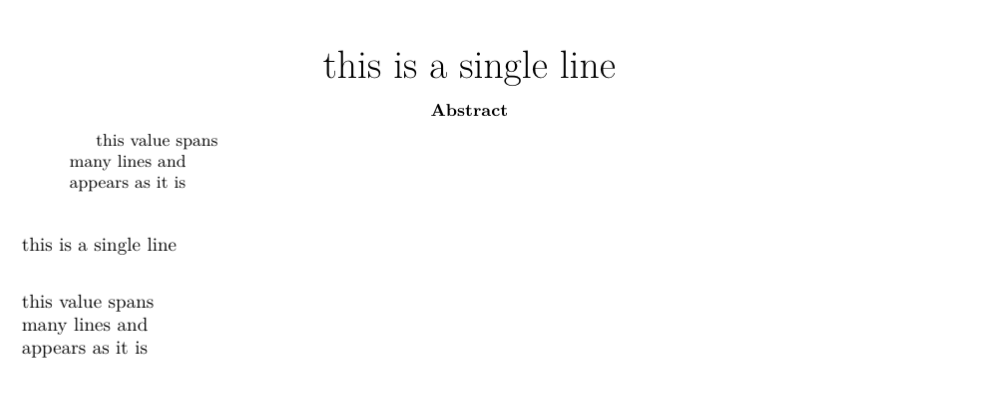
Go through
challenge-07.Rmd
10:00
Parametrized Report
---title: "Parameterized Report"params: species: setosaoutput: html_document---```{r, message = FALSE, fig.dim = c(3,2)}library(tidyverse)iris %>% filter(Species==params$species) %>% ggplot(aes(Sepal.Length, Sepal.Width)) + geom_point(aes(color=Species))```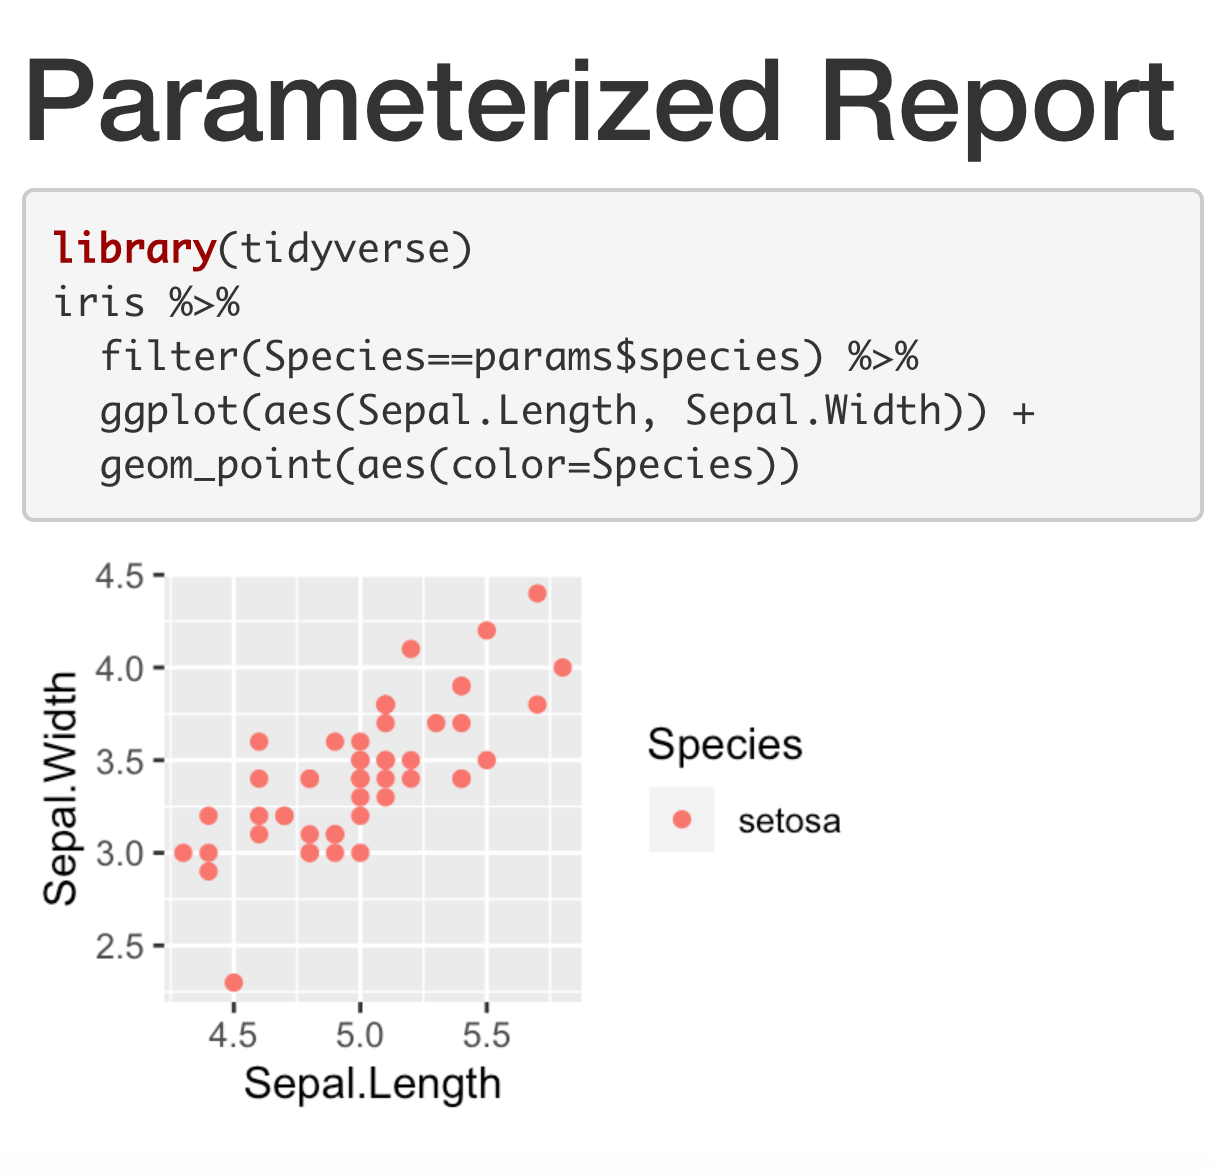
Knit with Parameters
---title: "Parameterized Report"params: species: label: "Species" value: setosa input: select choices: [setosa, versicolor, virginica] color: red max: label: "Maximum Sepal Width" value: 4 input: slider min: 4 max: 5 step: 0.1output: html_document---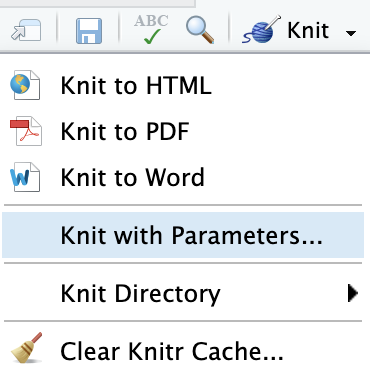
```{r, message = params$printmsg, fig.dim = c(3,2)}library(tidyverse)iris %>% filter(Species==params$species) %>% filter(Sepal.Width < params$max) %>% ggplot(aes(Sepal.Length, Sepal.Width)) + geom_point(aes(color=Species), color = params$color)```Shiny Report Generator
---title: "Parameterized Report"params: species: label: "Species" value: setosa input: select choices: [setosa, versicolor, virginica] color: red max: label: "Maximum Sepal Width" value: 5 input: slider min: 4 max: 5 step: 0.05output: html_document---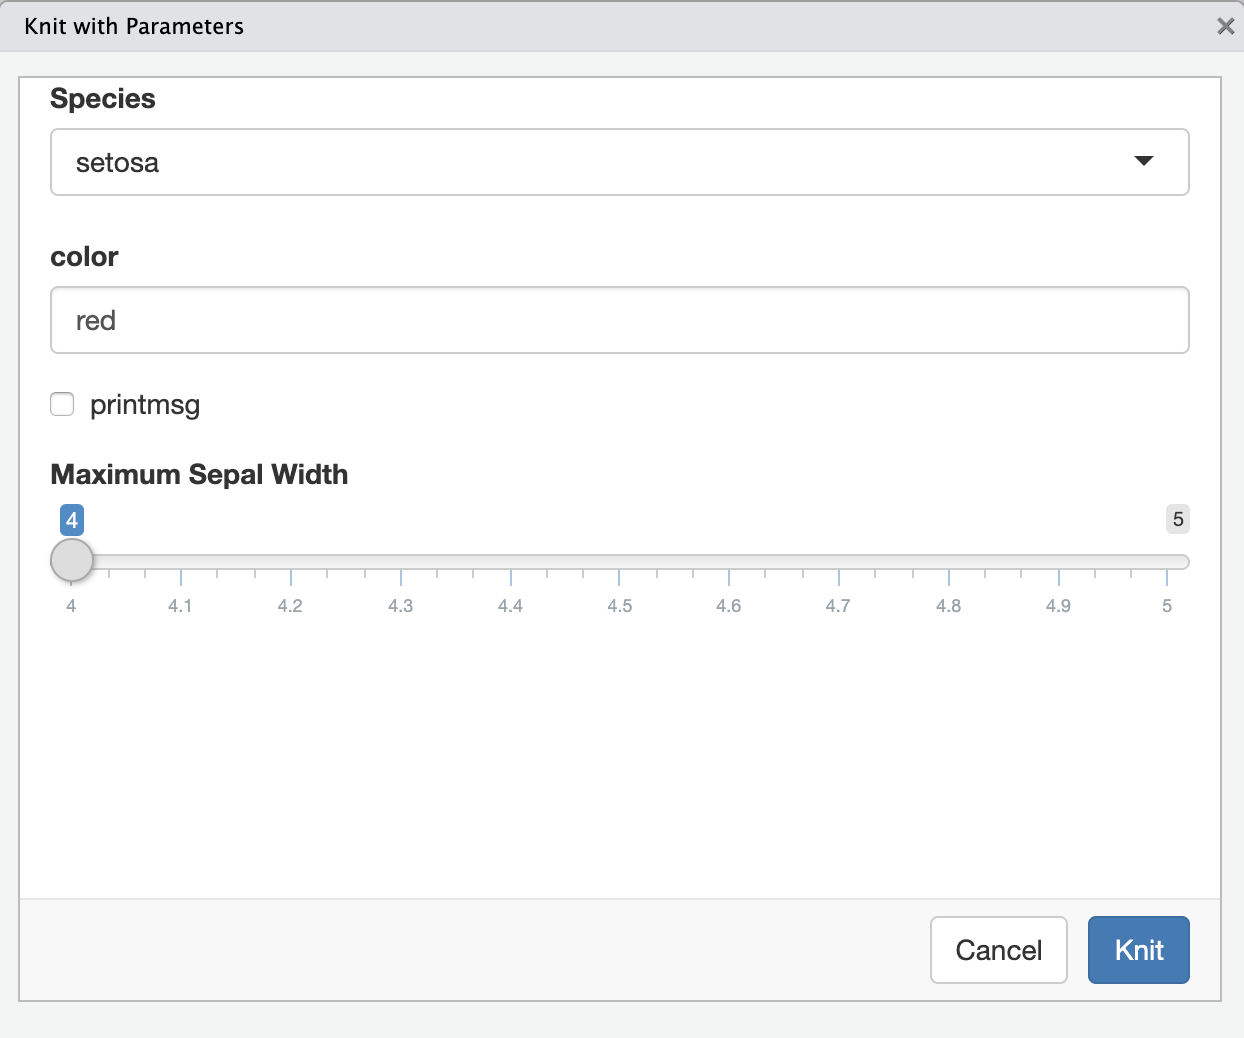
R Markdown via Command Line
demo-render.Rmd
---title: "Parameterized Report"params: species: setosaoutput: html_document---```{r, message = FALSE, fig.dim = c(3,2)}library(tidyverse)iris %>% filter(Species==params$species) %>% ggplot(aes(Sepal.Length, Sepal.Width)) + geom_point(aes(color=Species))```You can knit this file via R command by using render function:
library(rmarkdown)render("demo-render.Rmd")You can overwrite the YAML values by supplying arguments to render:
library(rmarkdown)render("demo-render.Rmd", output_format = "pdf_document", params = list(species = "virginica"))Go through
challenge-08.Rmd and challenge-09.Rmd
10:00
Themes: html_document
You can change the look of the html document by specifying themes:
default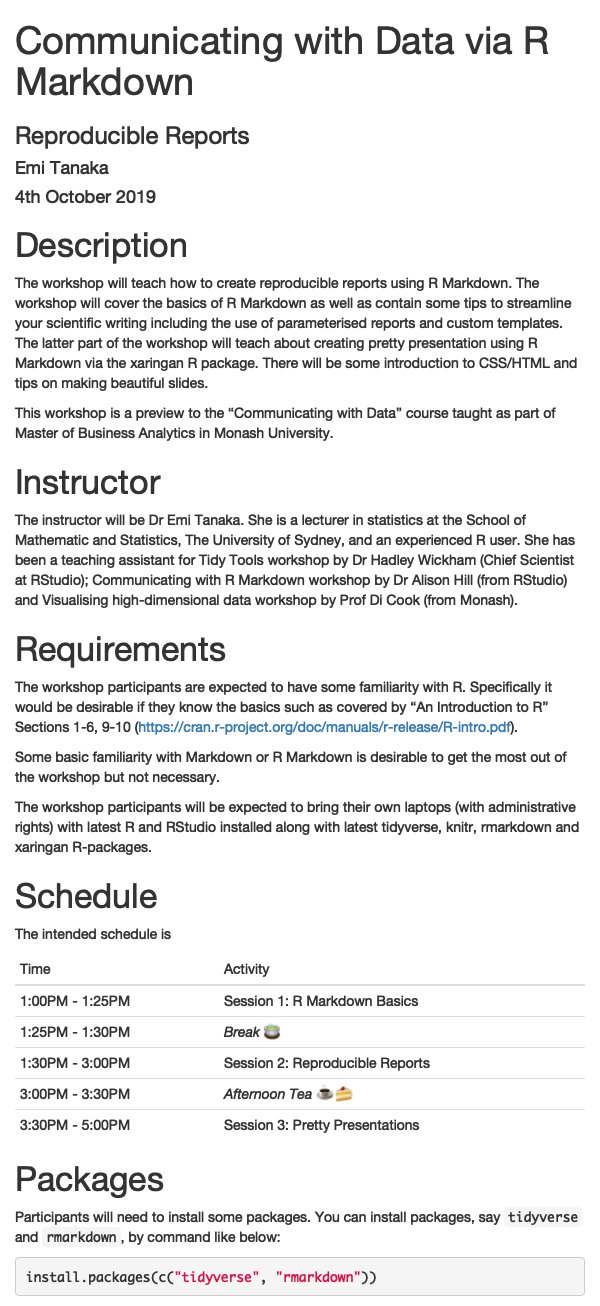
cerulean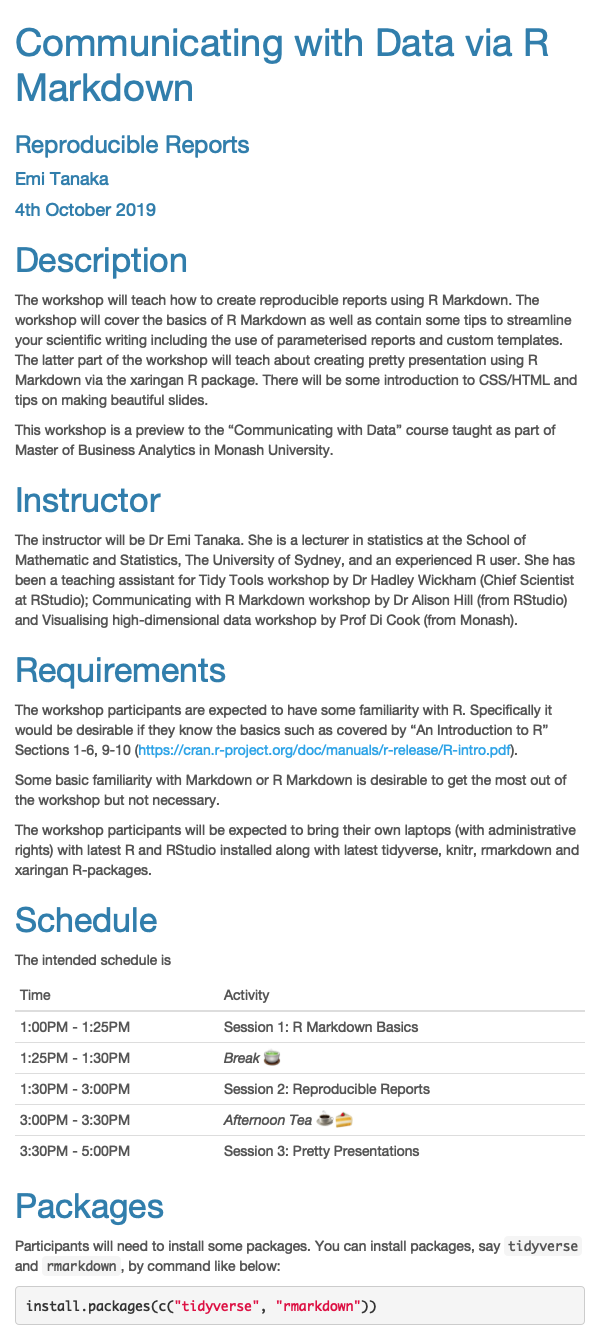
journal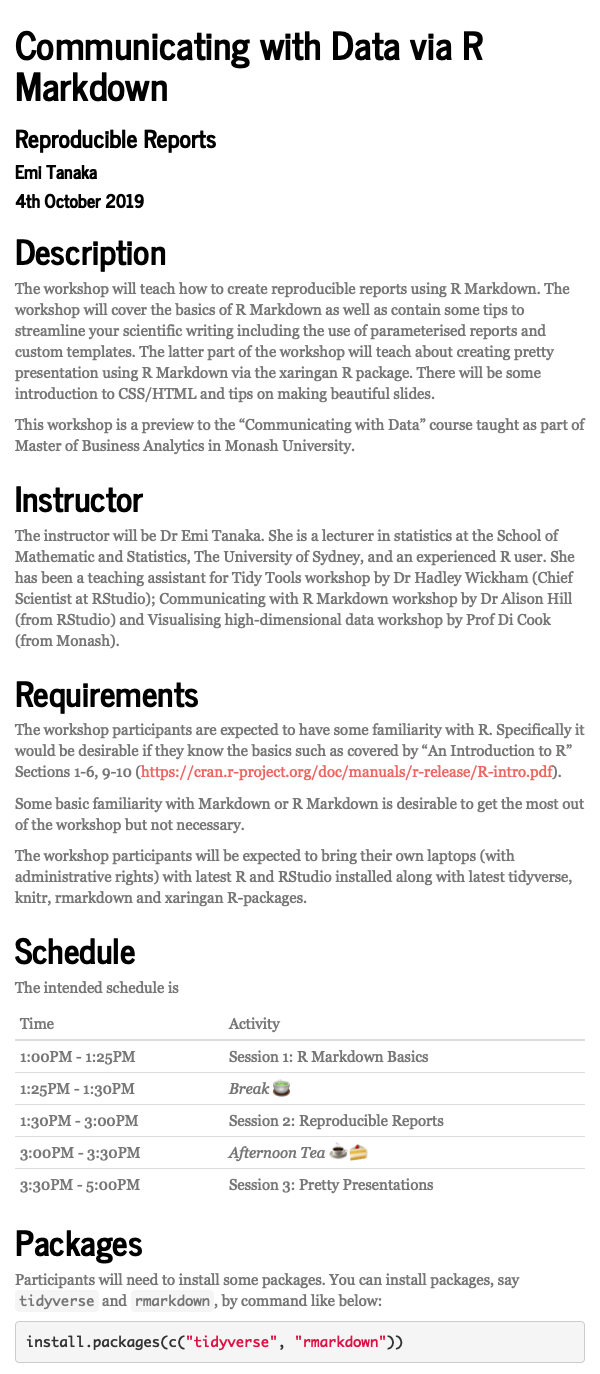
flatly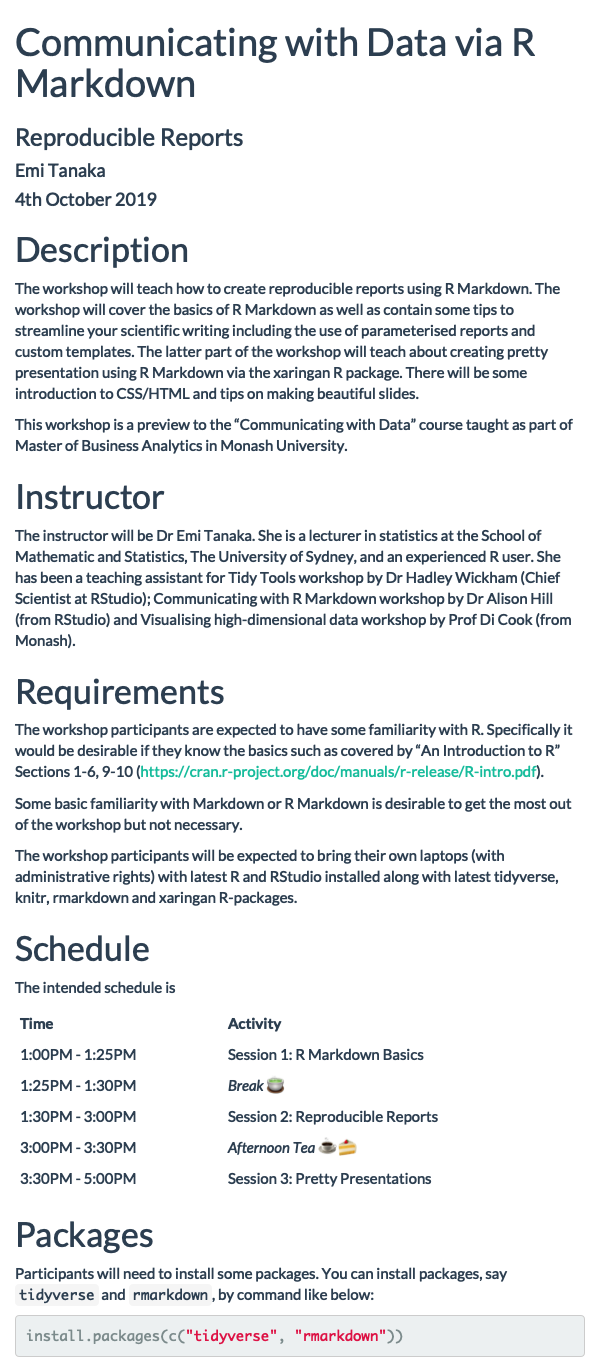
darkly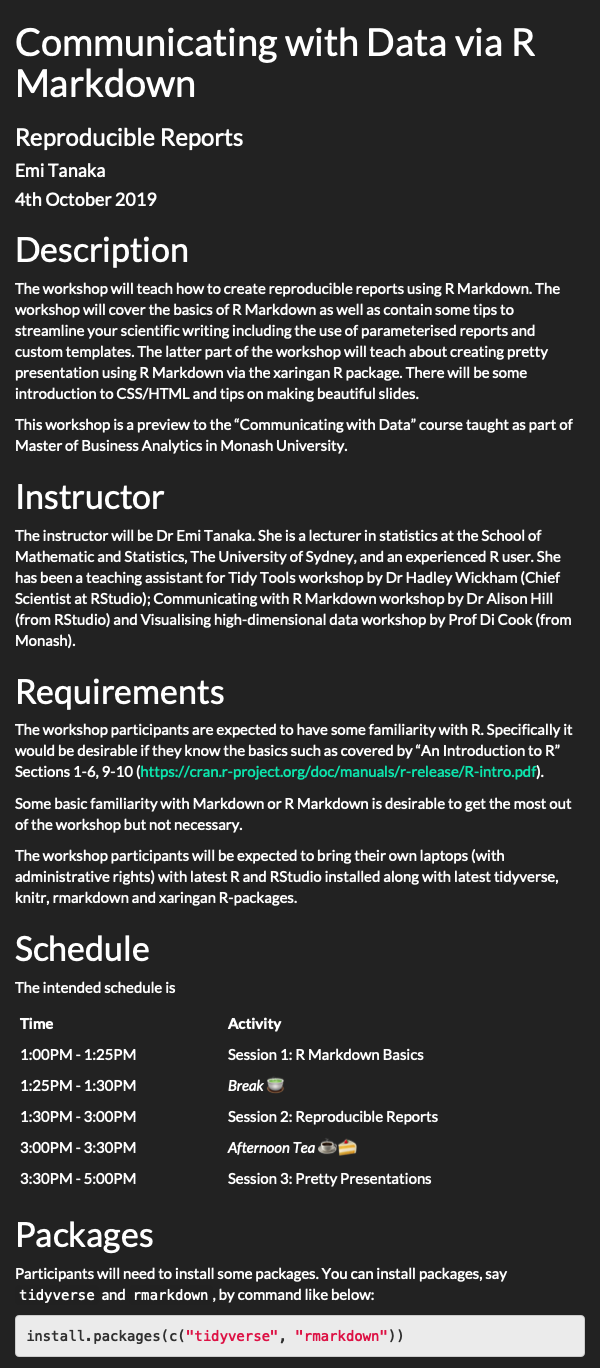
readable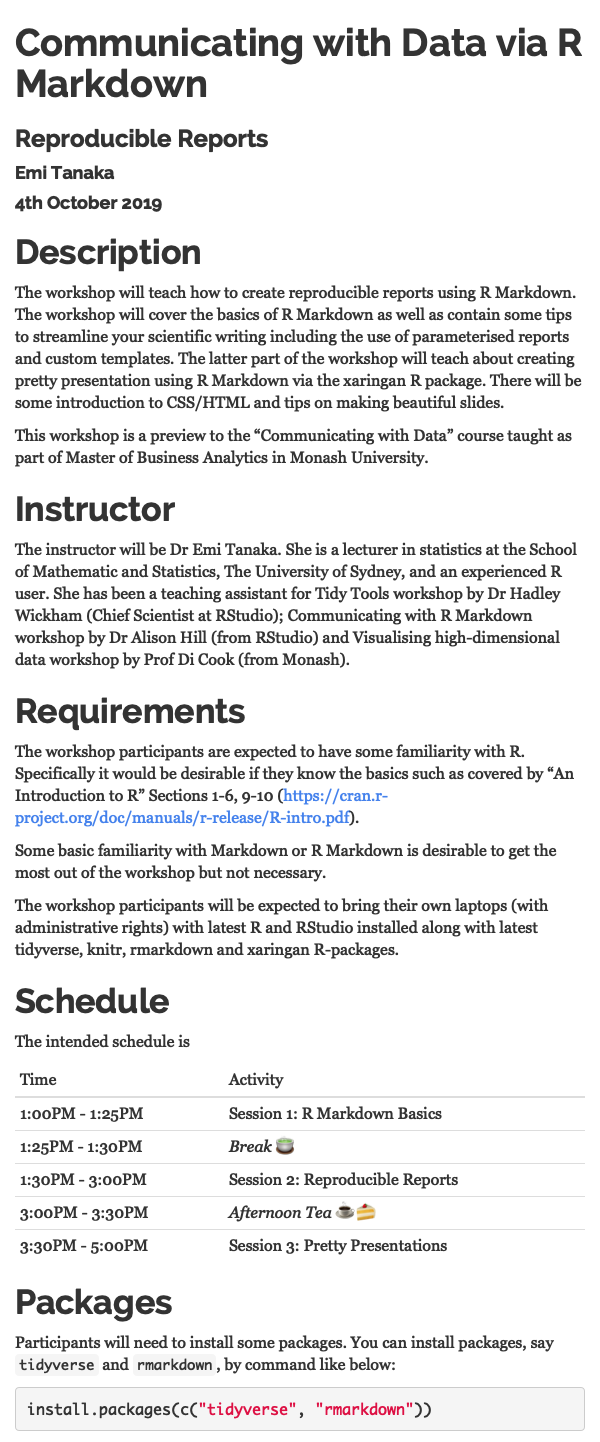
spacelab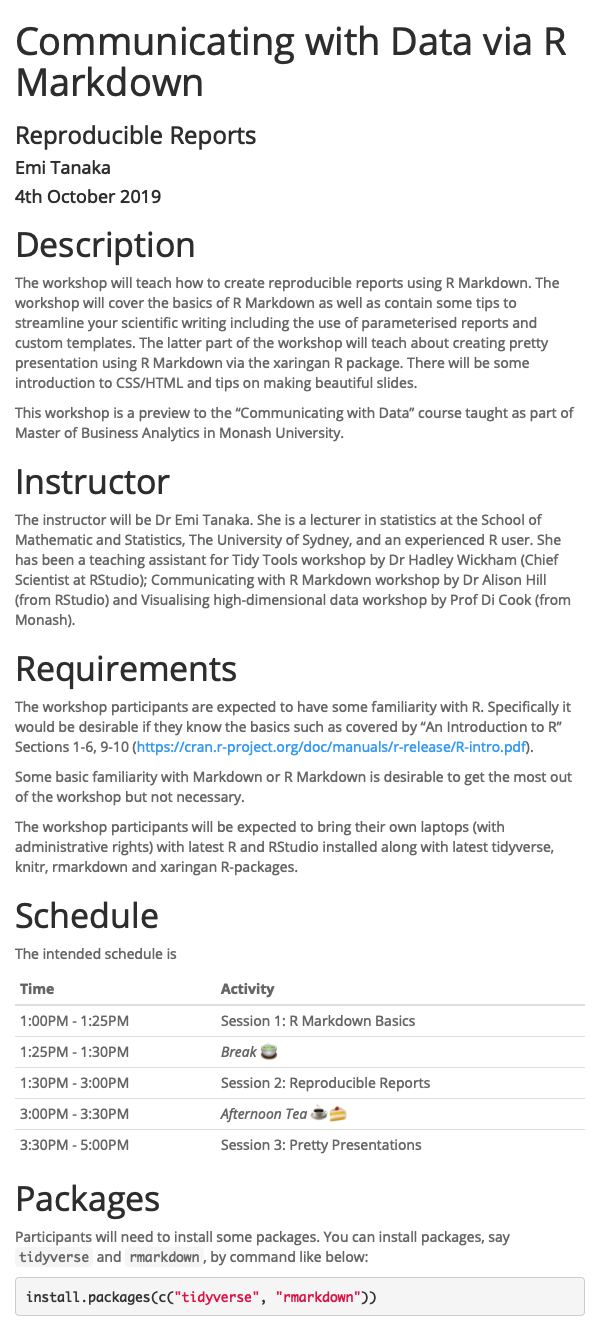
united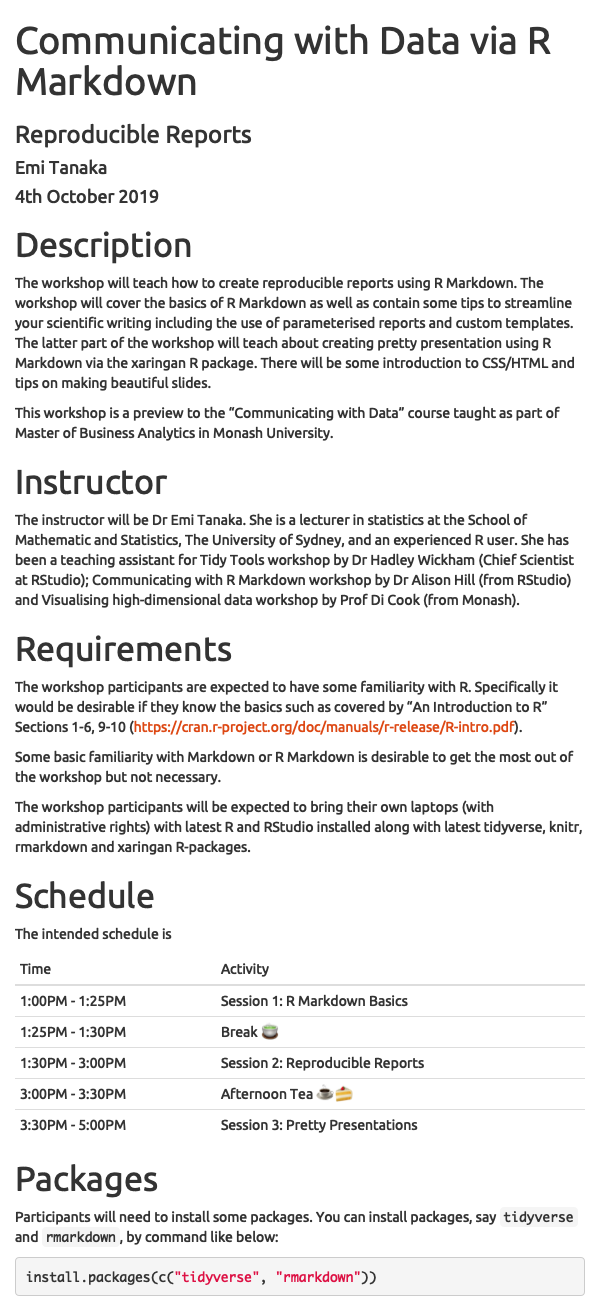
cosmo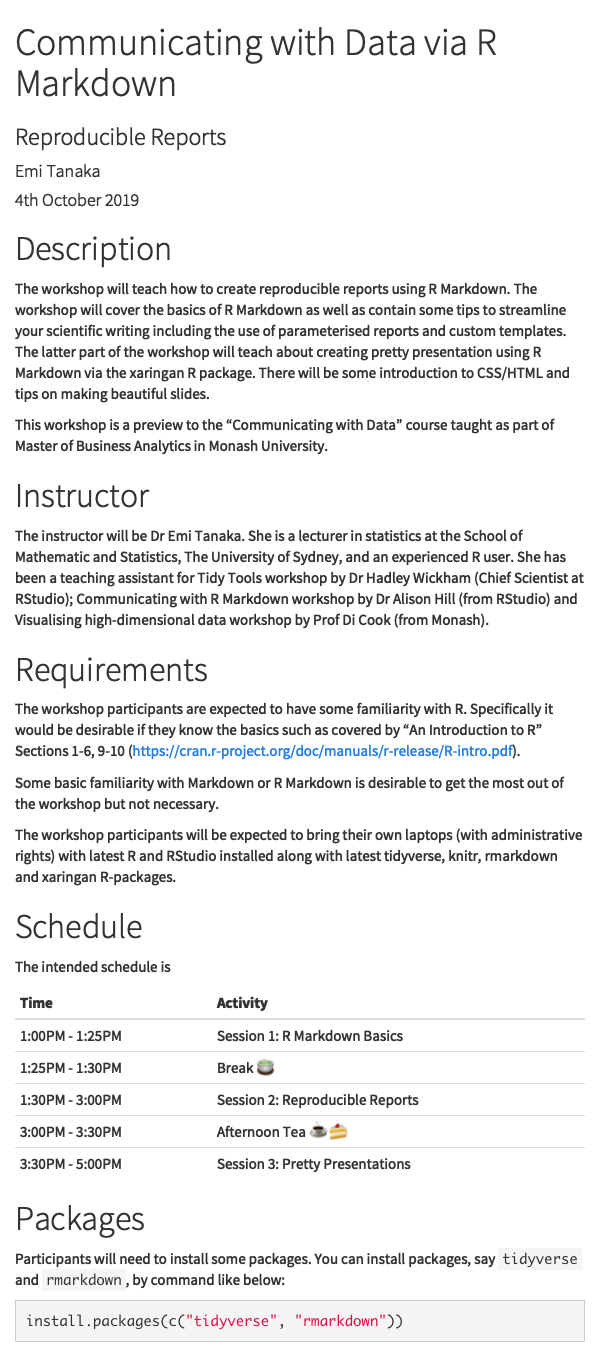
lumen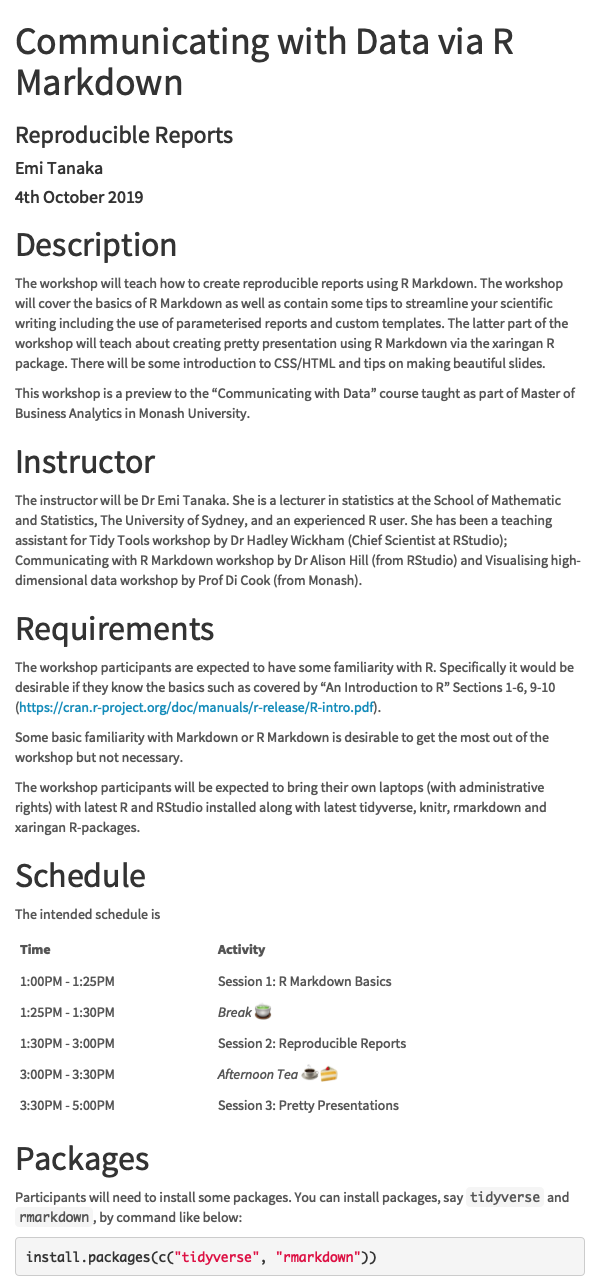
paper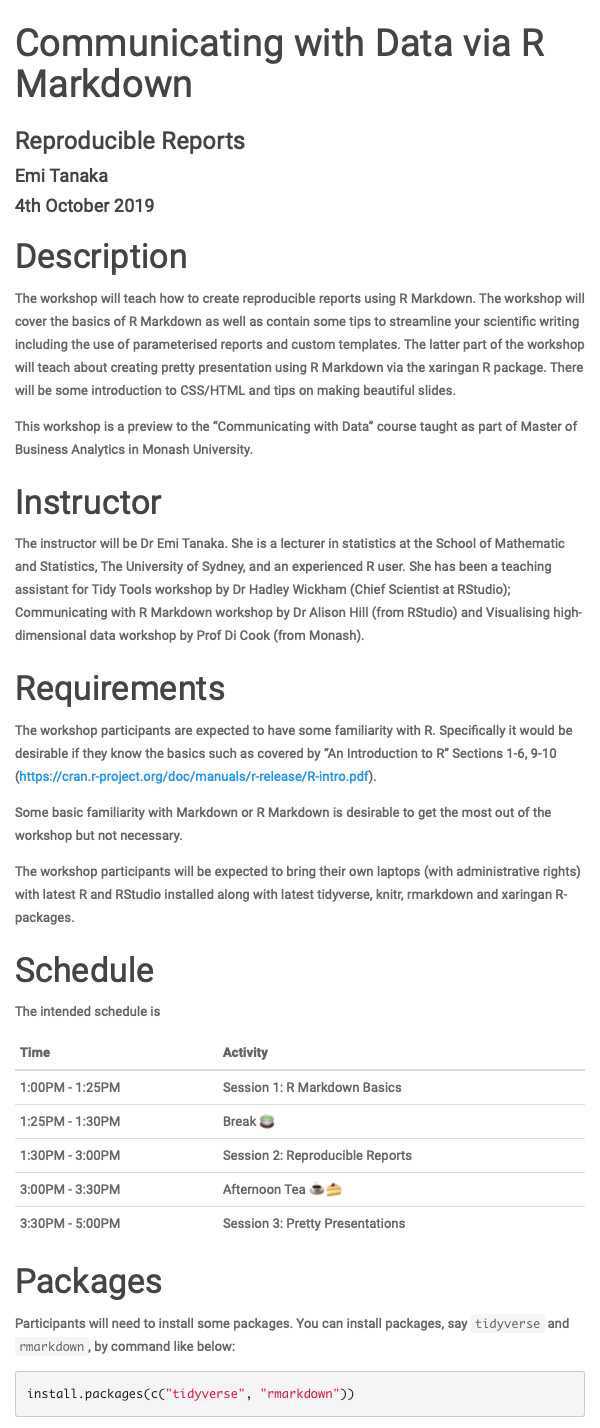
sandstone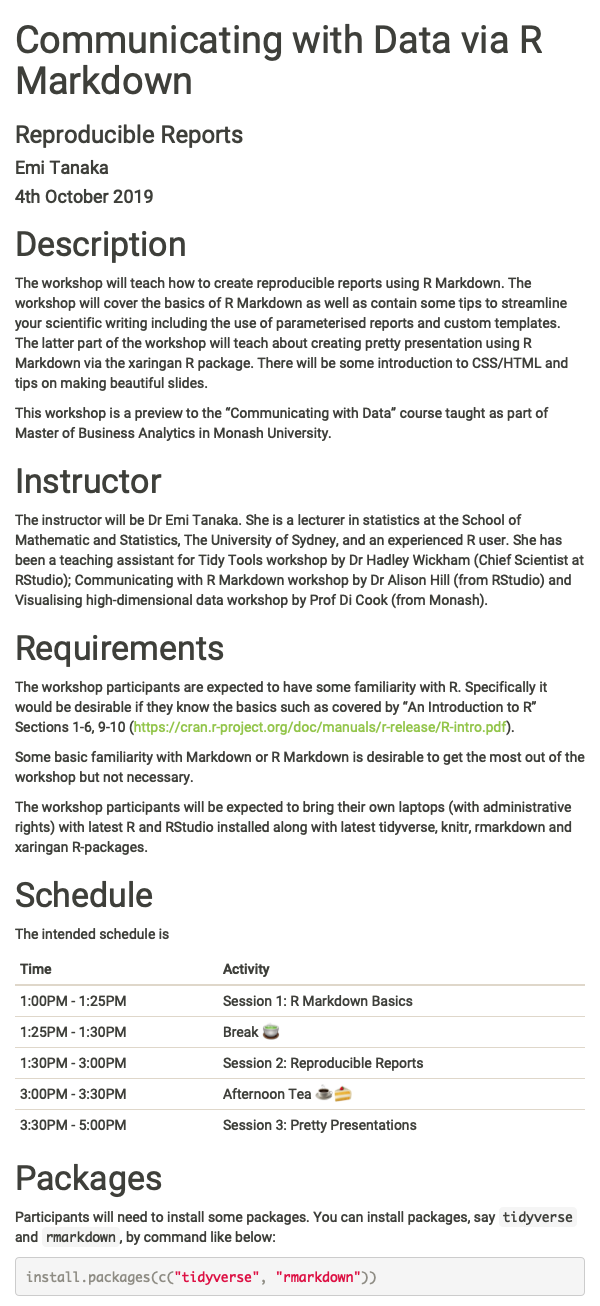
simplex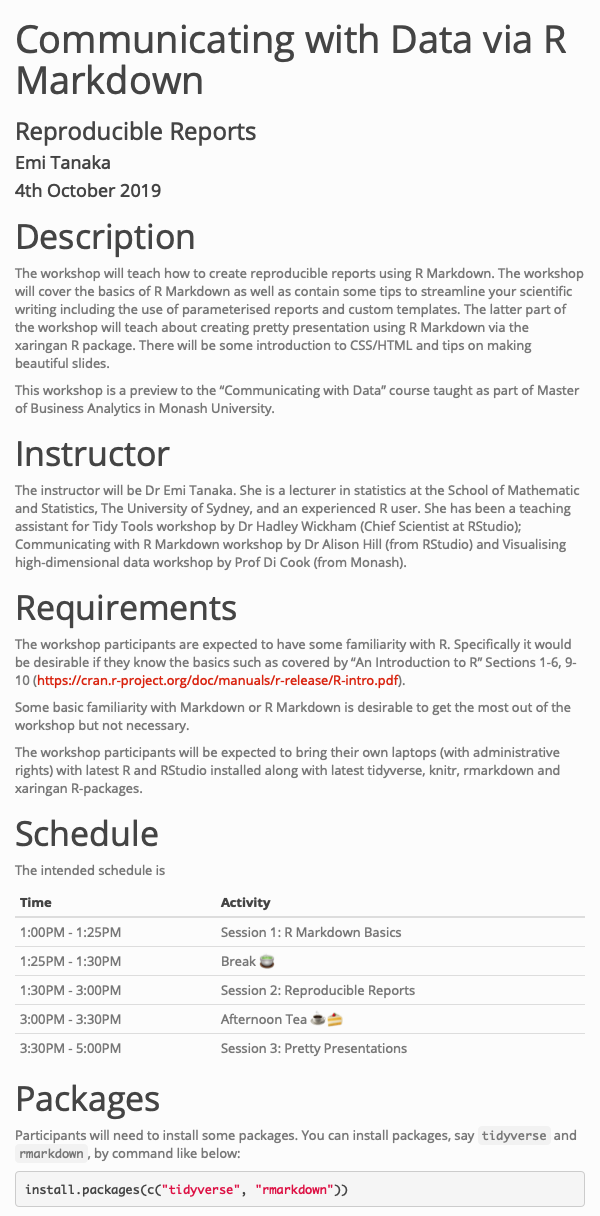
yeti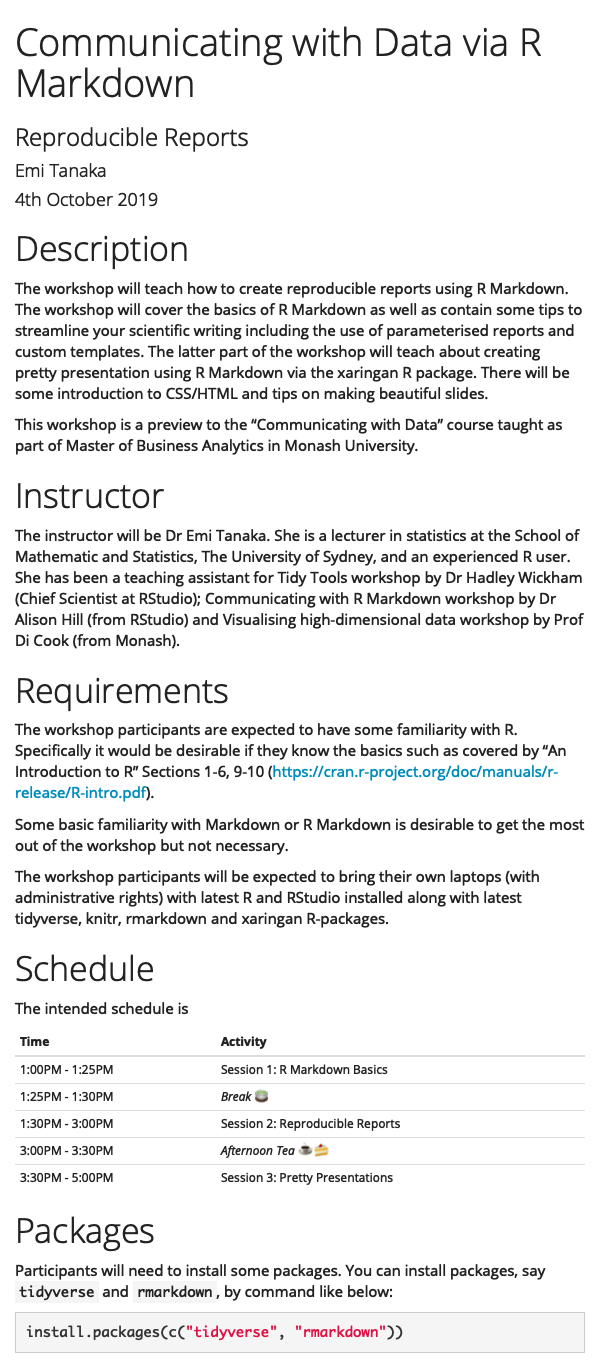
NULL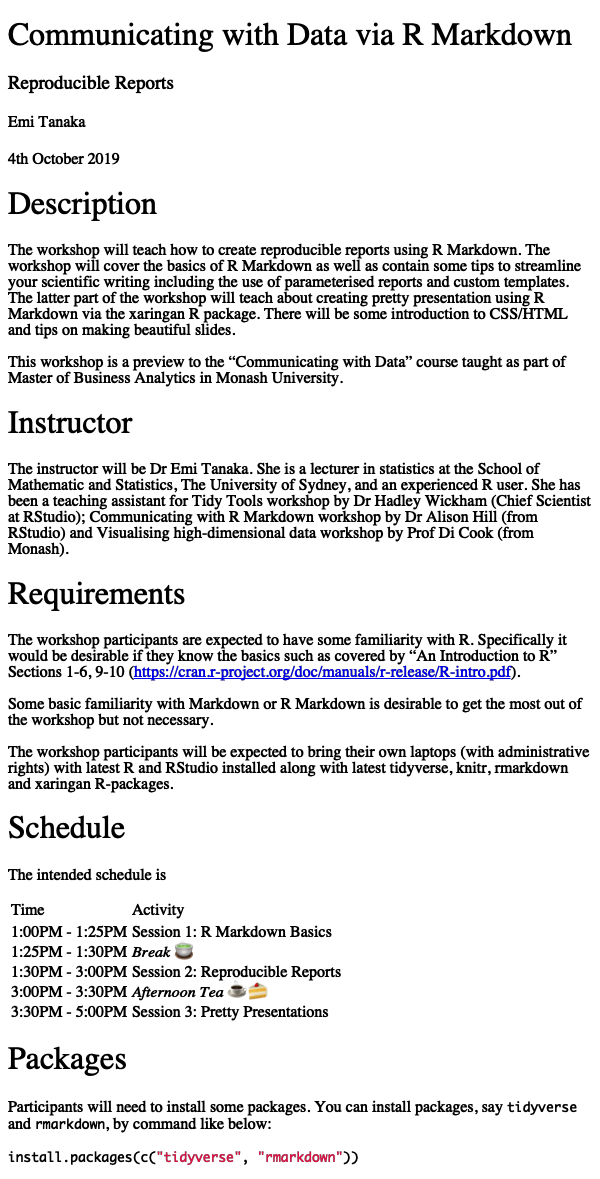
output: html_document: theme: ceruleanThese bootswatch themes attach the whole bootstrap library which makes your html file size larger.
prettydoc
prettydoc 📦 is a community contributed theme that is light-weight:
cayman
tactile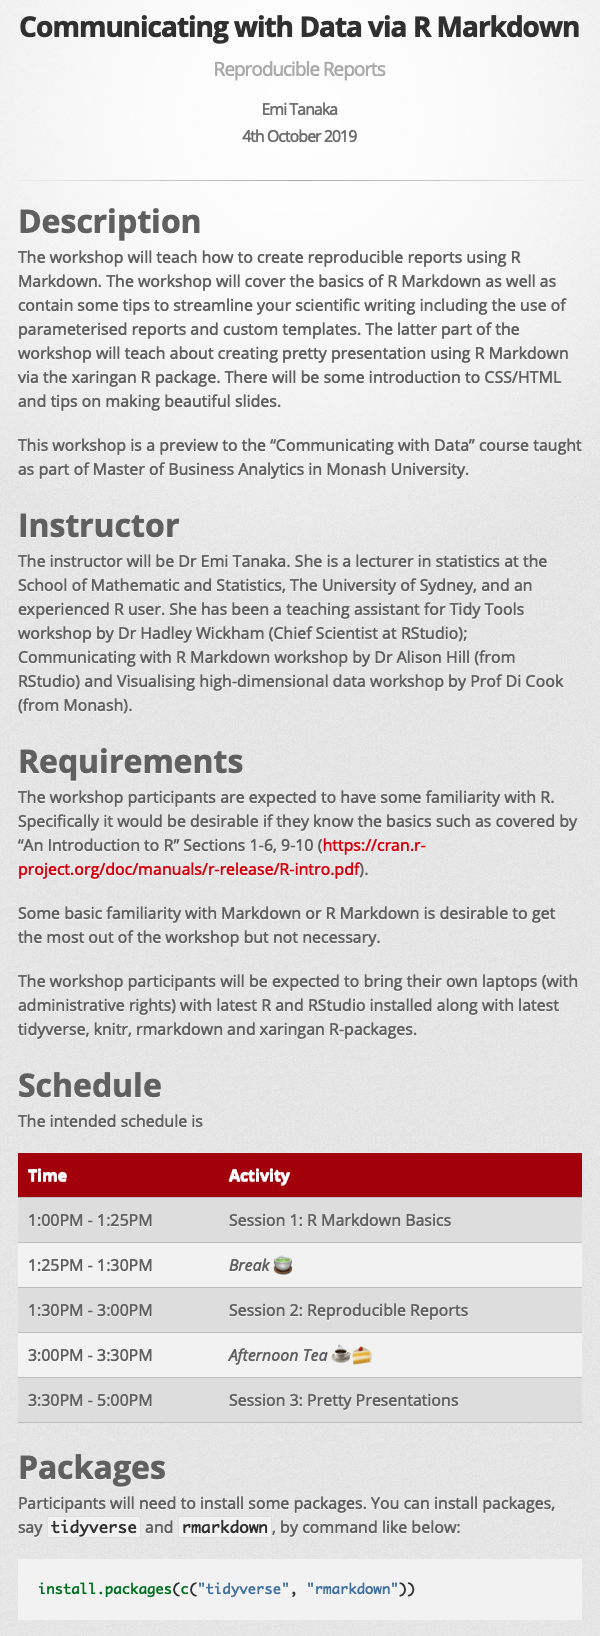
architect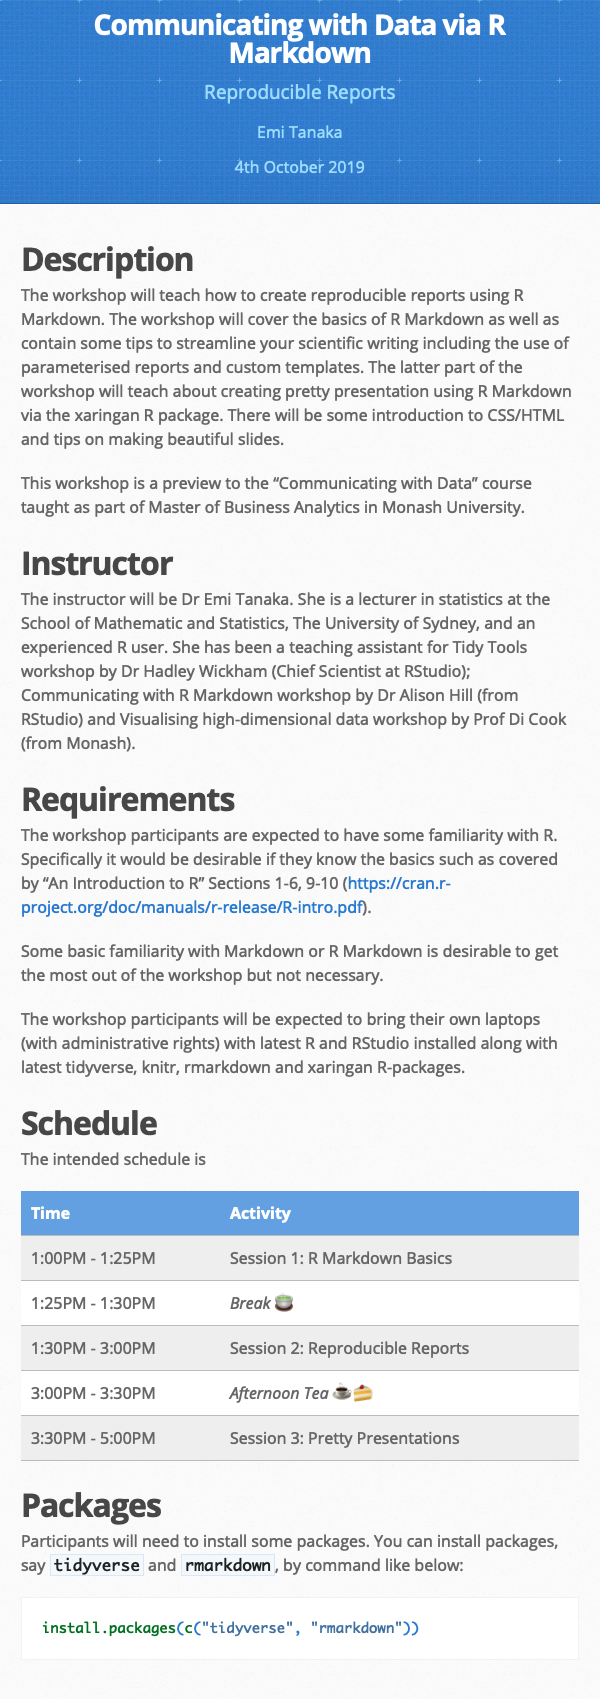
leonids
hpstr
rmdformats
rmdformats 📦 contains four built-in html formats:
readthedown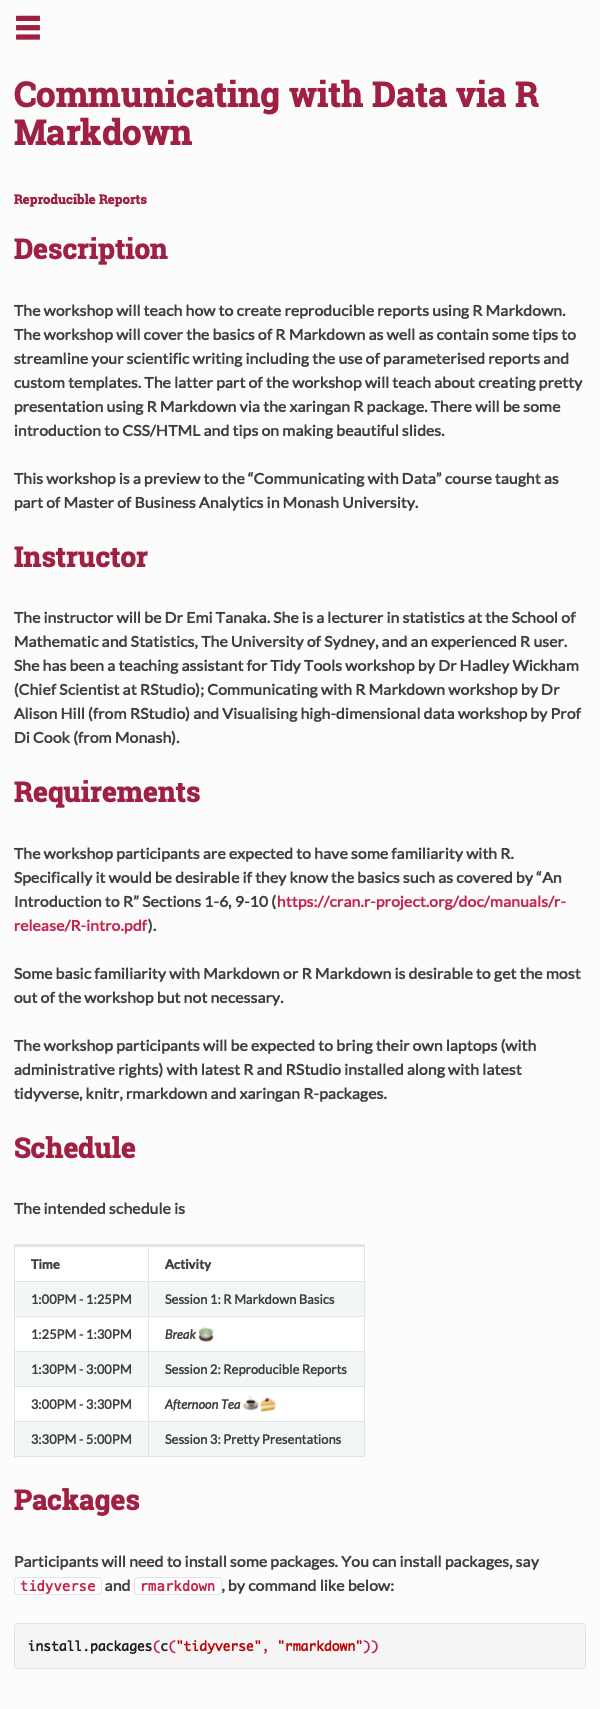
html_clean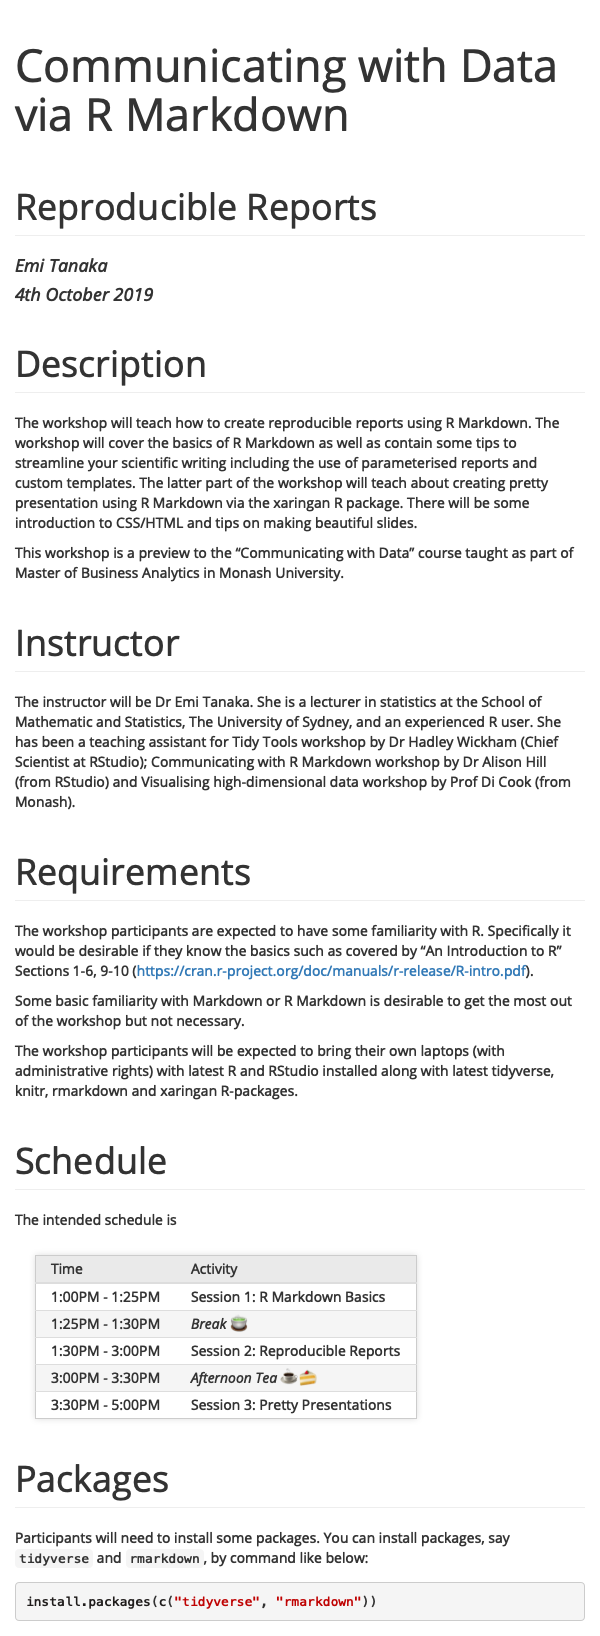
html_docco
material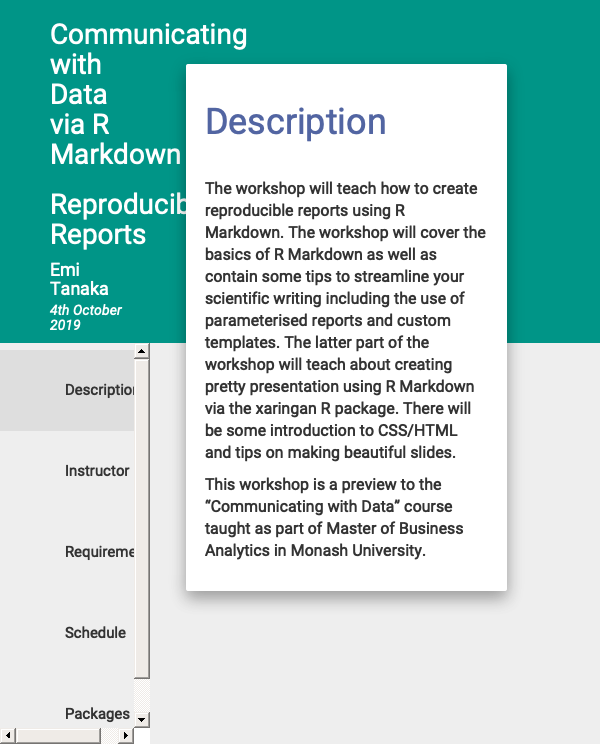
You can use these formats by simply specifying the output in YAML as below:
output: rmdformats::readthedownSee more about it below:
rticles - LaTeX Journal Article Templates
acm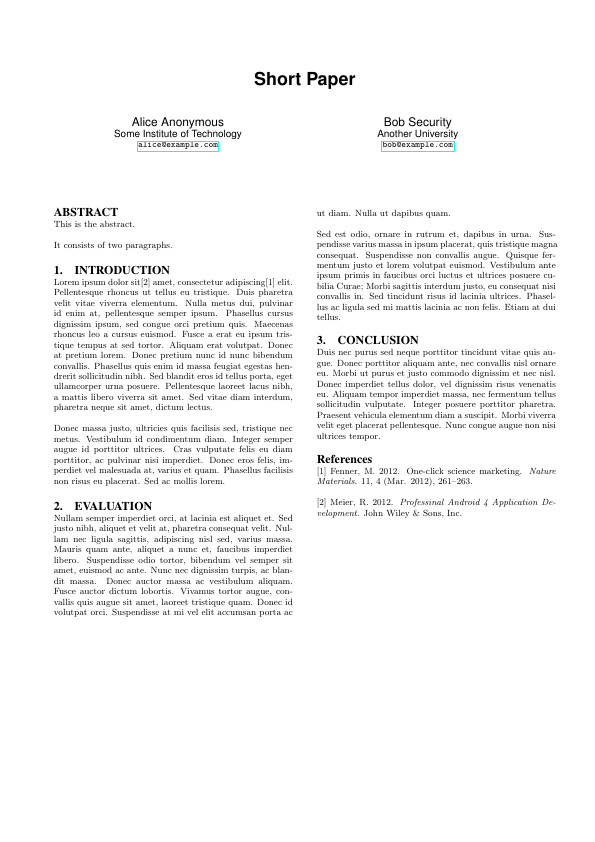
acs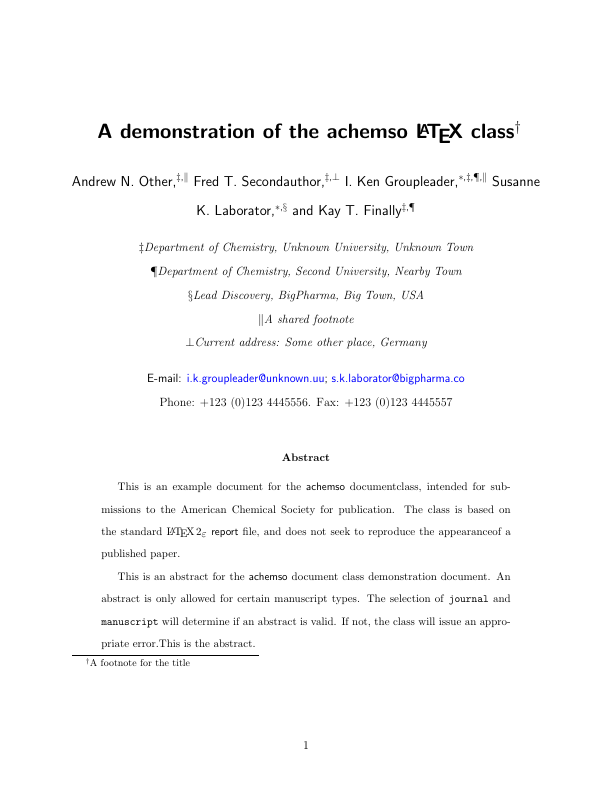
aea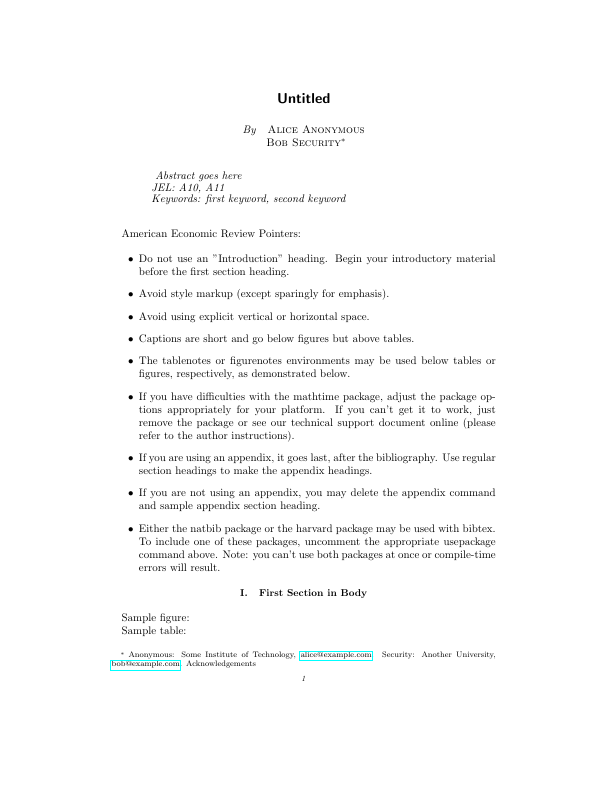
agu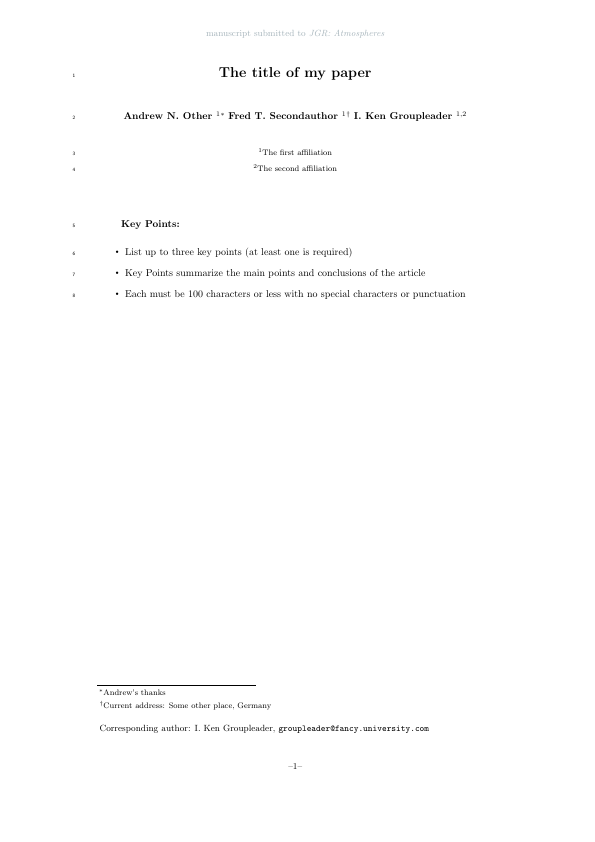
amq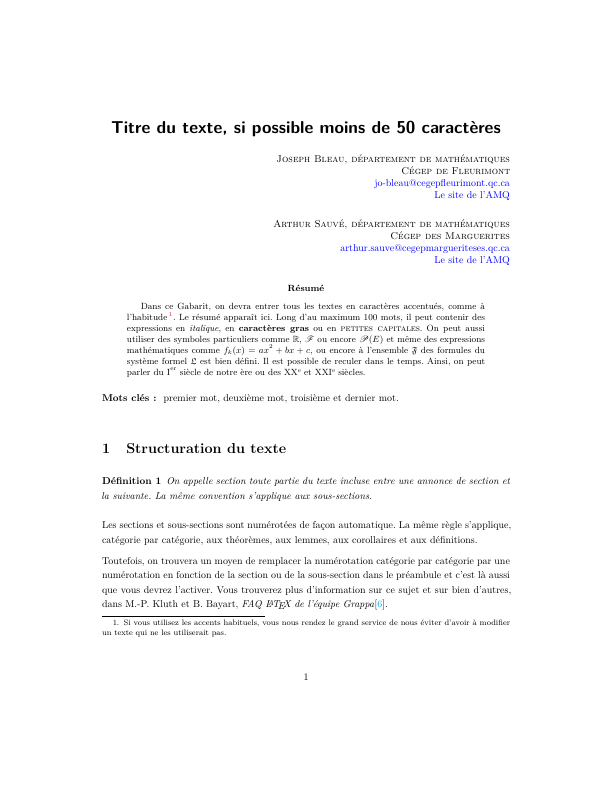
ams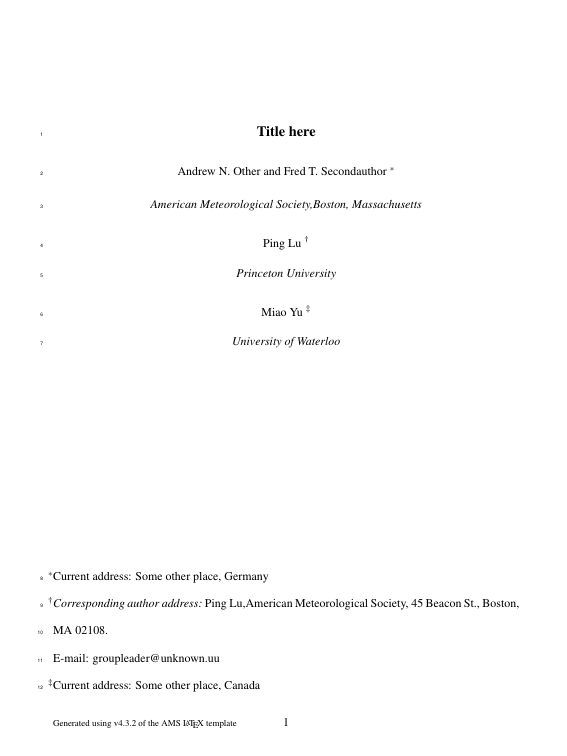
asa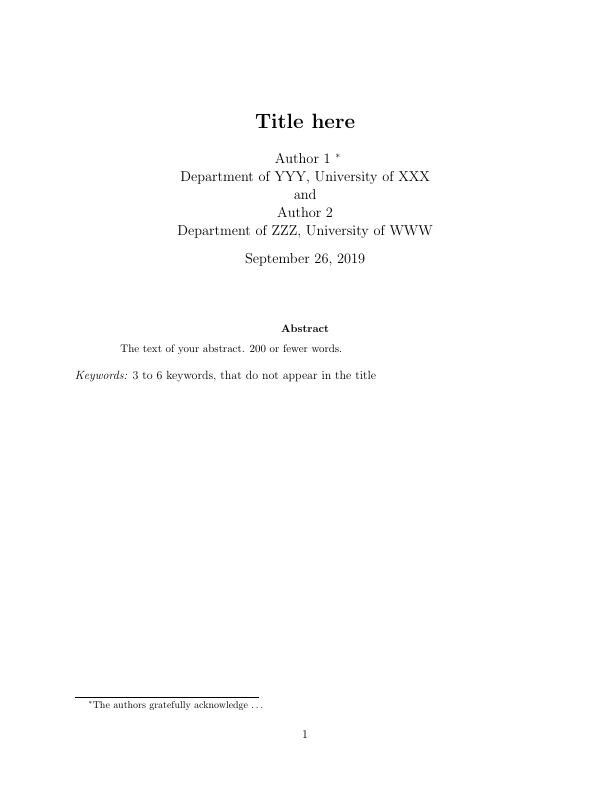
biometrics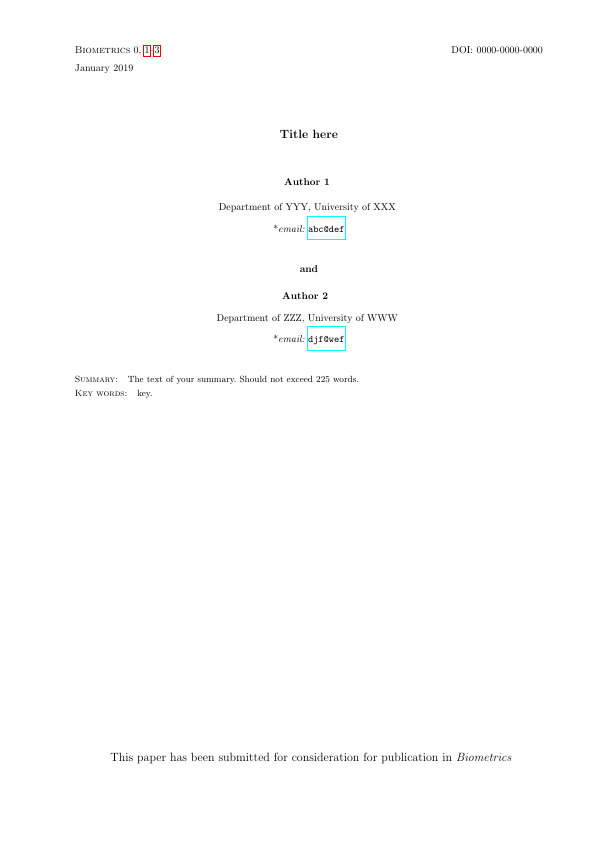
copernicus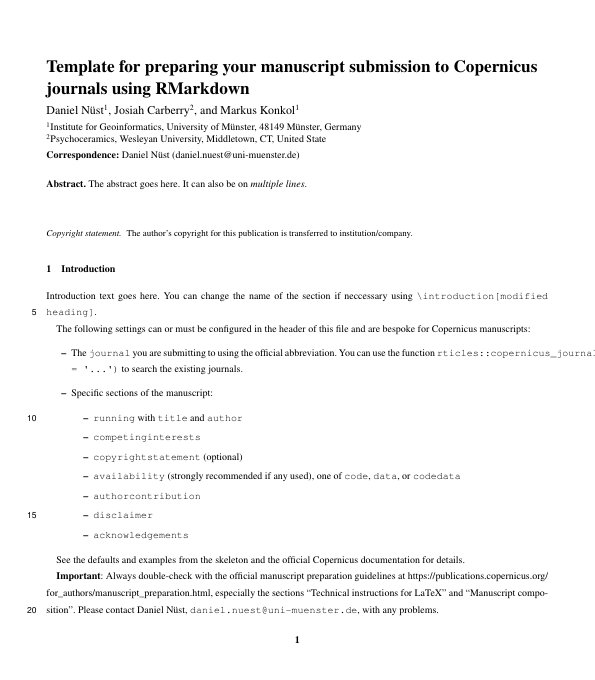
elsevier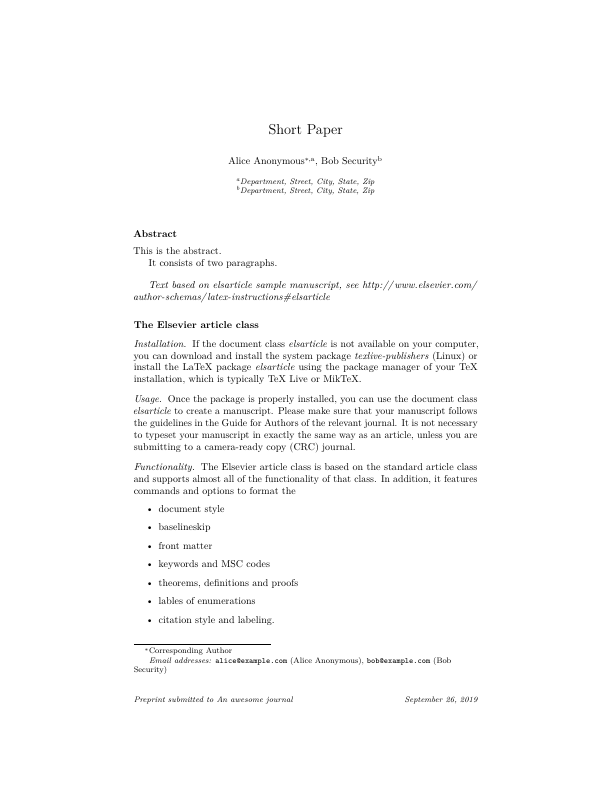
frontiers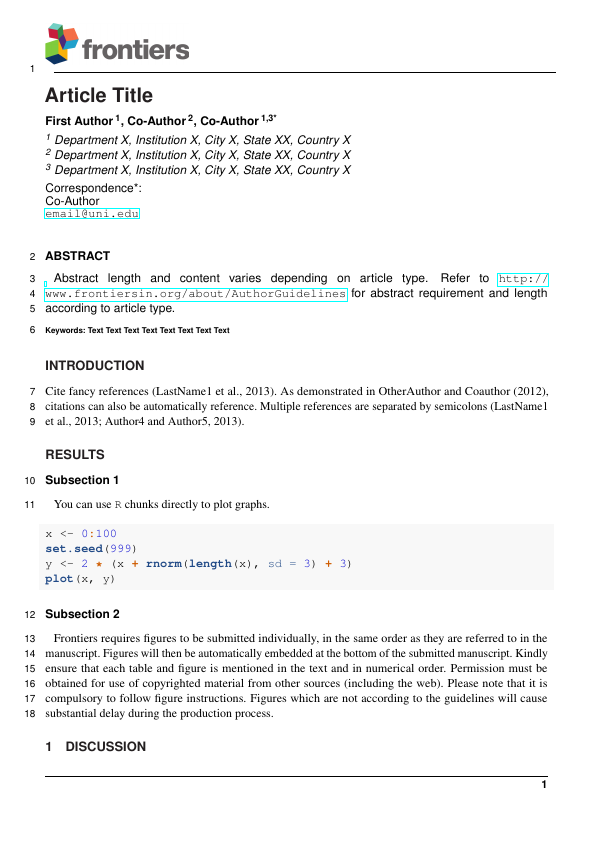
ieee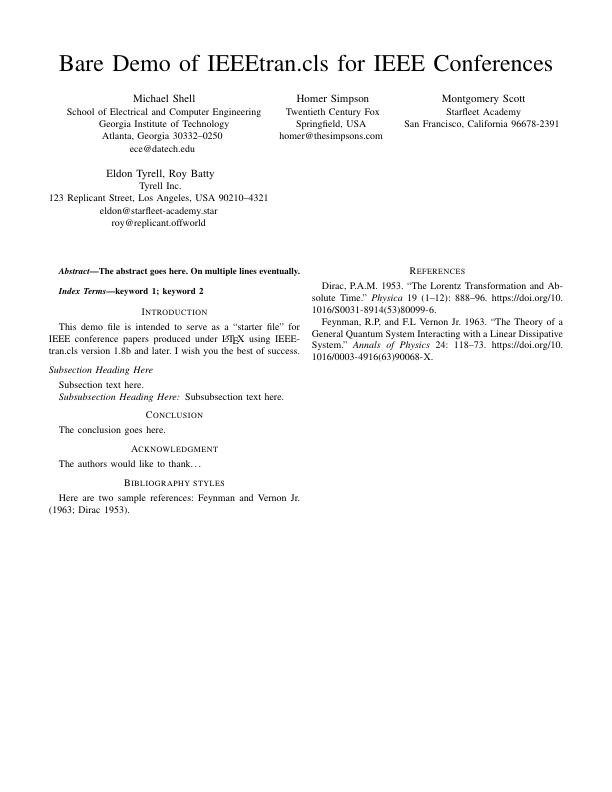
jss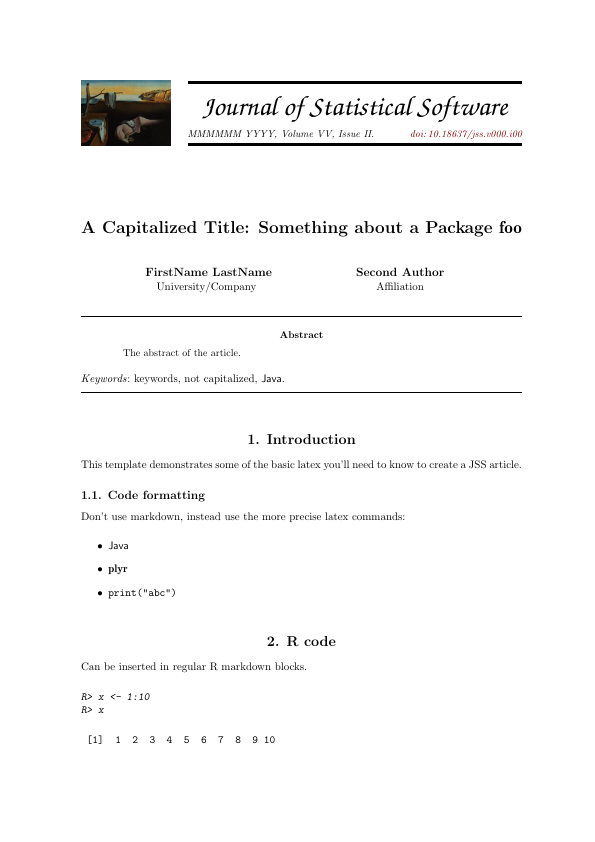
mdpi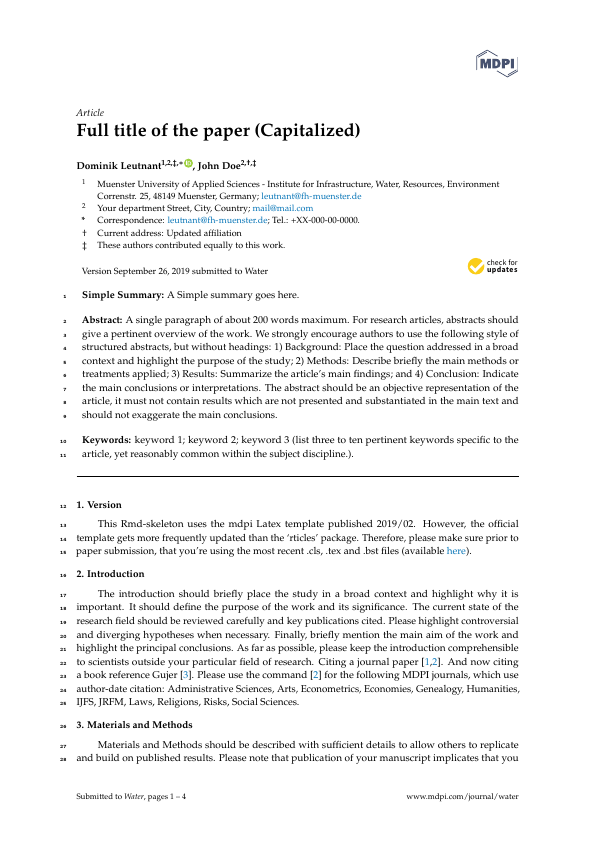
mnras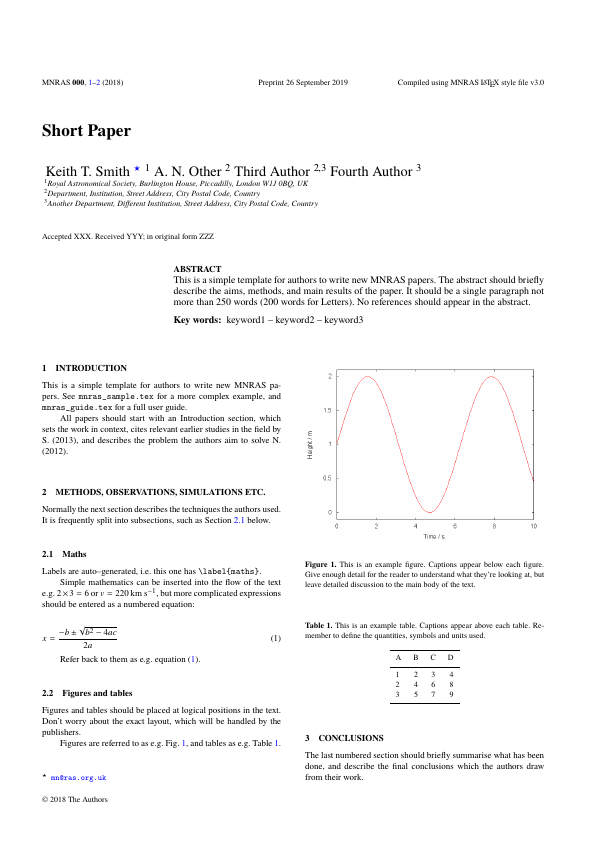
peerj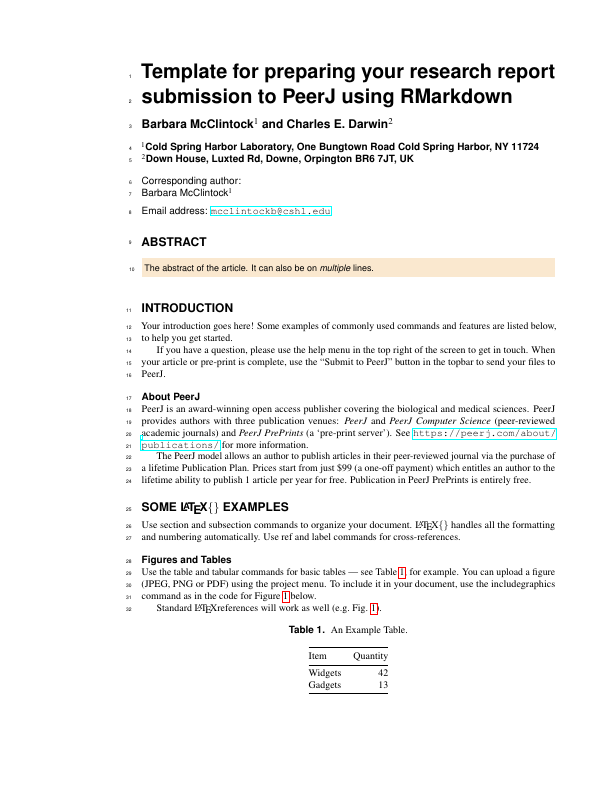
plos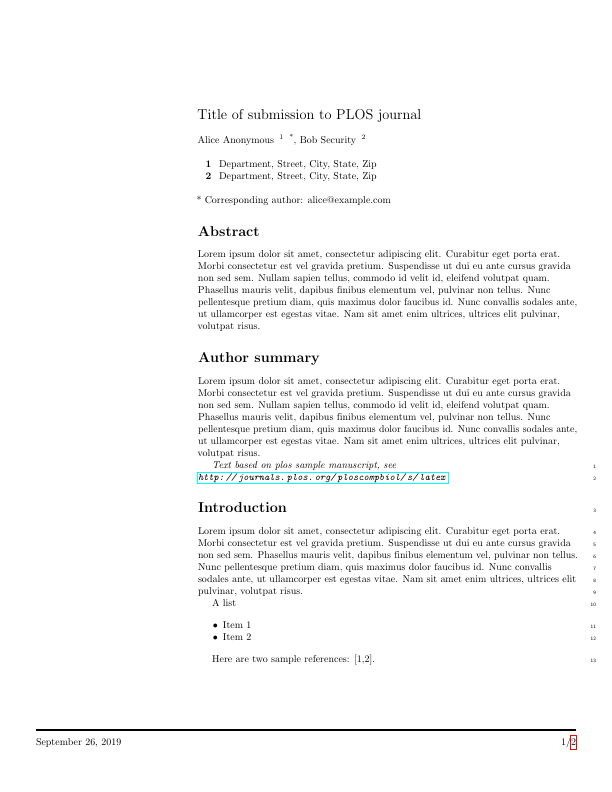
pnas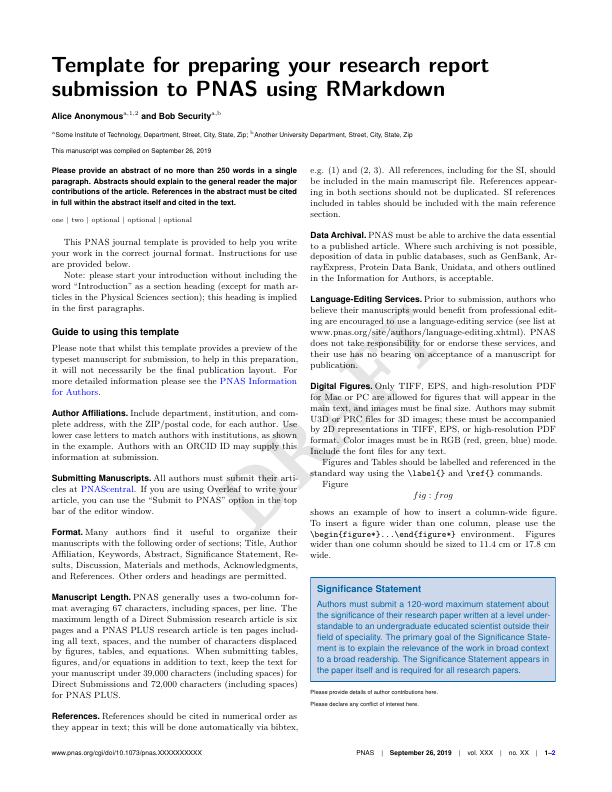
rjournal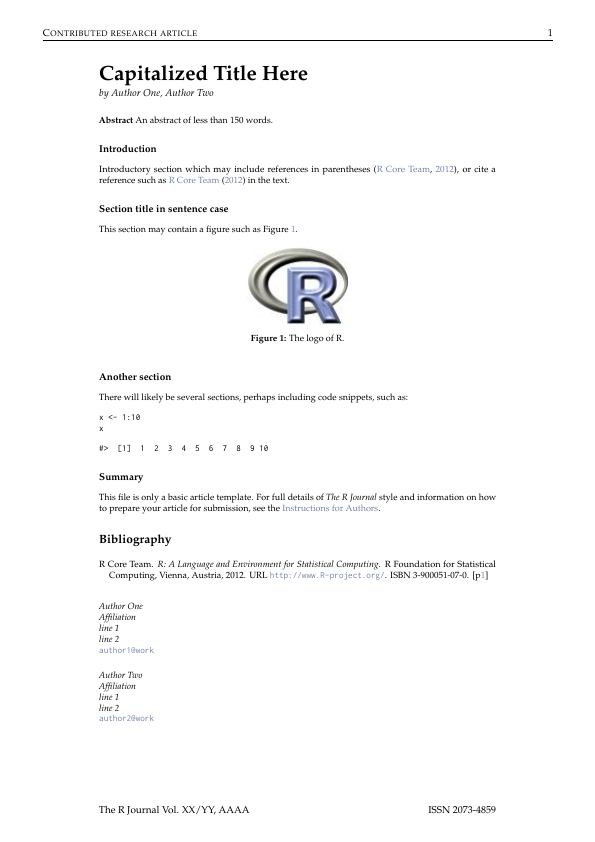
rsos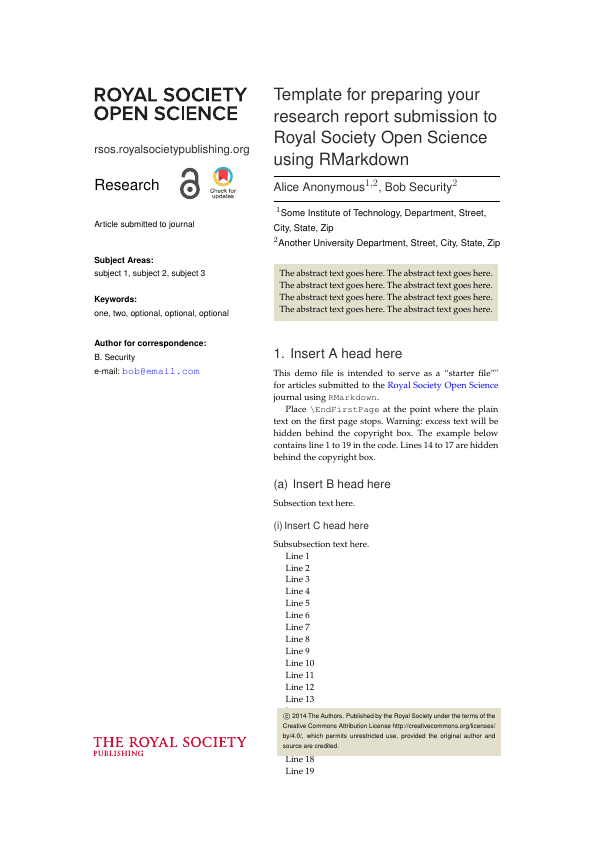
rss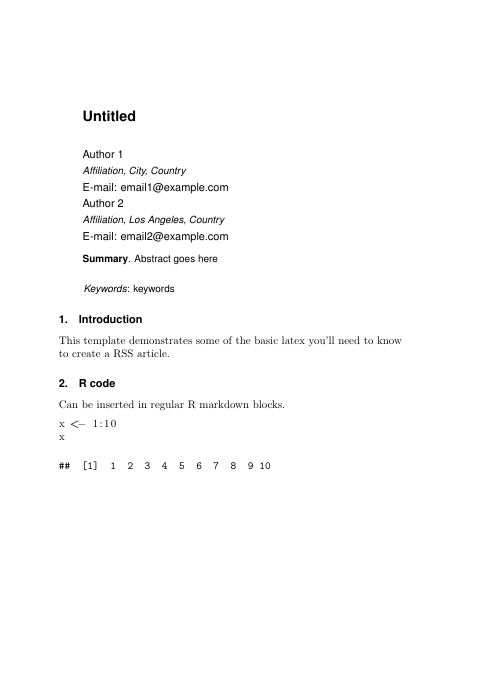
sage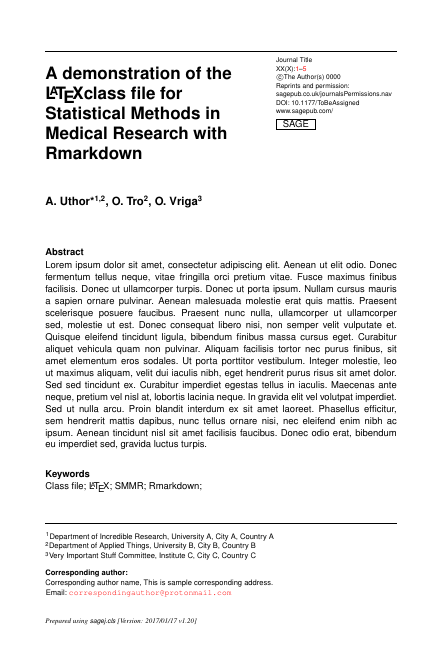
sim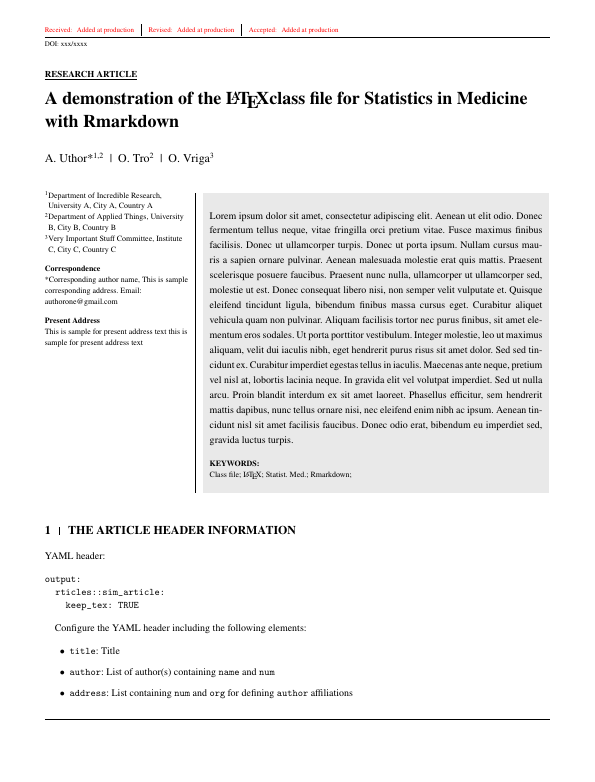
springer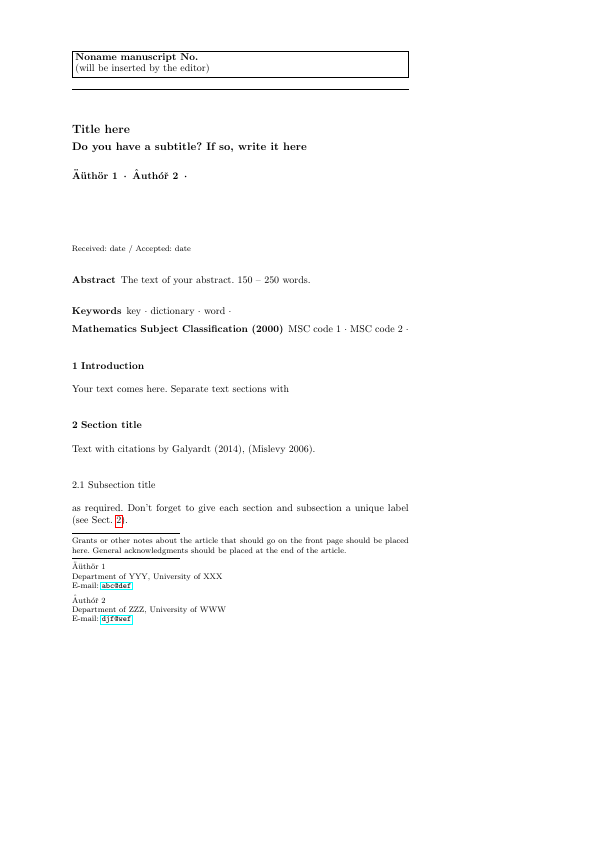
tf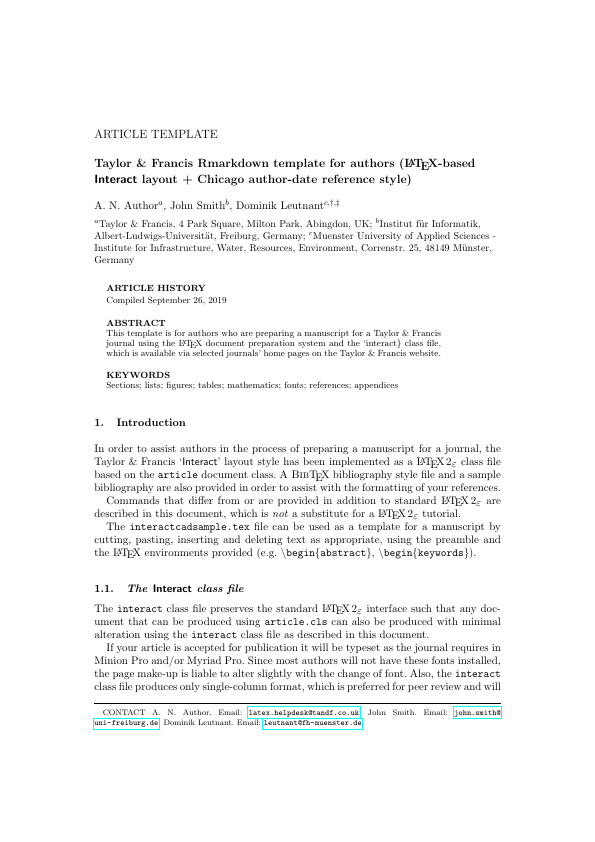
External Files in Templating
- When using
rticles, each journal usually require external files (e.g.clsor image files). - These external components are stored within the package.
- If you are drafting an Rmd template with external components then you need to extract these to your folder first.
GUI
RStudio > File > New File > R Markdown ... > From Template
Command line
rmarkdown::draft("file.Rmd", template = "biometrics_article", package = "rticles")More customisation needed?
Default templates for many output are found at
We'll go through the latex template.
I found this nice latex template online.
You can see it at main.pdf.
It was compiled from main.tex.
main.tex and main.pdf in demo folder.
How do I use this template so that I can write contents from an Rmd file instead?
Templating
We will use
---output: pdf_document: template: main.tex---But nothing written in the body shows up in the output!Templating
We will use
---output: pdf_document: template: main.tex---But nothing written in the body shows up in the output!You need to add $body$ in the latex template file where you want the body of the md file to appear.
Templating: few more tweaks
- R Markdown needs a few more special tweaks before
\begin{document}in latex template:
\IfFileExists{bookmark.sty}{\usepackage{bookmark}}{\usepackage{hyperref}}$if(highlighting-macros)$$highlighting-macros$$endif$- These are minimum tweaks needed for a LaTeX template.
- You can find common tweaks (including for beamer) at https://github.com/jgm/pandoc-templates
- You can define your own tweaks but it is better practice to use the ones defined in pandoc template rather than trying to reinvent the wheel.
How pandoc template works: key
Rmd
---title: "COMBINE 2019"author: "Emi Tanaka"output: pdf_document: template: "template.tex"---YAML meta data can be used by surrounding key with $.
template.tex
\documentclass{article}\title{$title$}\author{$author$}\date{}\begin{document}\maketitle\end{document}COMBINE 2019
Emi Tanaka
How pandoc template works: if statements
Rmd
---title: "COMBINE 2019"author: "Emi Tanaka"output: pdf_document: template: "template.tex"---Simple "if null statements".
template.tex
\documentclass[$if(fontsize)$$fontsize$,$endif$]{article}\title{$title$}\author{$author$}\date{}\begin{document}\maketitle\end{document}How pandoc template works: accessing list
Rmd
---title: "COMBINE 2019"author: - name: "Rachel Wang" email: "rachel.wang@sydney.edu.au" - name: "Connor Smith" email: "connor.smith@sydney.edu.au"output: pdf_document: template: "template.tex"---Here it will become
\author{Rachel Wang \and Connor Smith}
template.tex
\documentclass{article}\title{$title$}\author{$for(author)$$author.name$$sep$ \and $endfor$}\date{}\begin{document}\maketitle\end{document}Go through
challenge-10.Rmd
05:00
Cross Reference
- When you make a header via Rmd
- The id is created by replacing space with
-and making it all lower case. - Now you can link to this header by
[some text](#some-header). - Cross references work for both pdf and html outputs.
Direct Reference for html
- For
htmloutput, you can also give a link directly to the relevant section. - E.g. open
demo-header.htmlin thedemofolder in a web browser. - Append say
#chicken-datato the url. It should look likedemo-header.html#chicken-data - It should have taken you to straight to the corresponding header.
User-defined id
- You can define your own id by appending
{#your-id}.
# Some header {#header1}- Now you can link to this header with the id
header1. - Note there should be no space in the id name!
Bibliography
- BibTeX citation style format is used to store references in
.bibfiles. - Remember that you can get most BibTeX citation for R packages
citationfunction. (Scroll below to see the BibTeX citation).
citation("xaringan")## ## To cite package 'xaringan' in publications use:## ## Yihui Xie (2019). xaringan: Presentation Ninja. R package## version 0.9. https://CRAN.R-project.org/package=xaringan## ## A BibTeX entry for LaTeX users is## ## @Manual{,## title = {xaringan: Presentation Ninja},## author = {Yihui Xie},## year = {2019},## note = {R package version 0.9},## url = {https://CRAN.R-project.org/package=xaringan},## }Citations
- You can include BibTeX by specifying the
bibfile at YAML as:
bibliography: bibliography.bib[@bibtex-key] (Author et al. 2019)
or
@bibtex-key Author et al. 2019
- See
demo-citation.Rmdin the demo folder.
R Markdown is such an indispensible tool for making documents, especially if you have plan to include statistical output.
How do you use (or plan to use)
R Markdown?
People that made R Markdown possible
The development of R Markdown is largely thanks to
- Yihui Xie
Software Engineer at RStudio
forknitr
- John MacFarlane
Professor of Philosophy at UC Berkeley
forpandoc
- and many contributors behind the development of these tools.
Check that you can:
- Understand how YAML changes .Rmd
- Understand how to manipulate chunks in .Rmd
- Understand how to change the template in .Rmd
- Understand how to cross-reference and do citations